Thought there was nothing more annoying than the alarm clock? Well, you’re wrong. Here at EduKits, we’ve managed to build something even worse – an alarm clock that goes off at the wrong time.
Parts list
What you’ll need


Step 1
Let’s build this

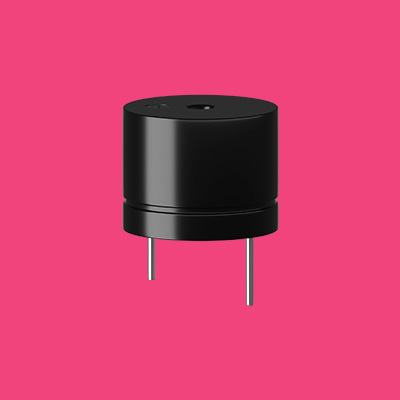
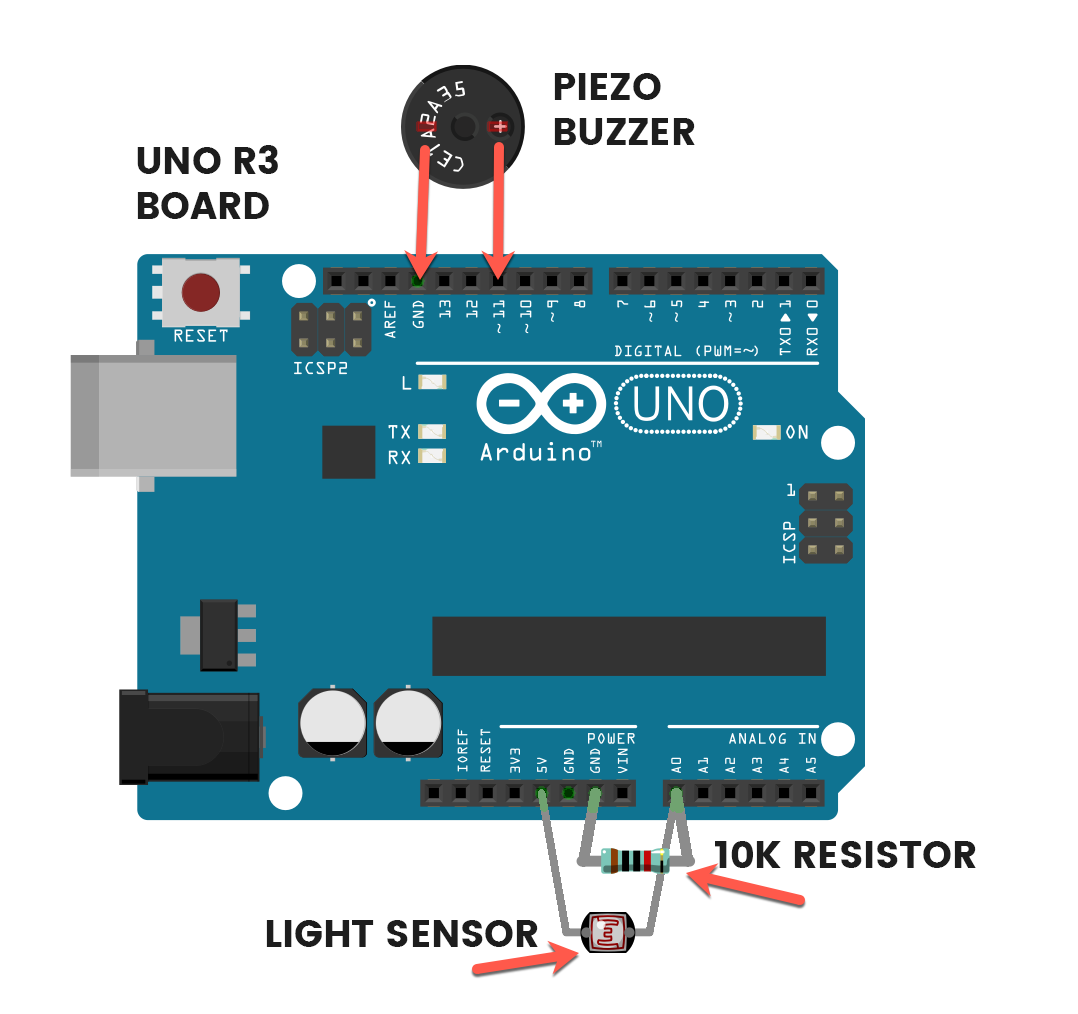
This is the positive leg of the buzzer. It will have a ‘+’ over top and will also be longer than the other leg.
The light sensor and the resistor both need to be plugged into pin A0.
Connections
Buzzer
The +LEG is the longer leg.
Light Sensor
Both legs are the same.
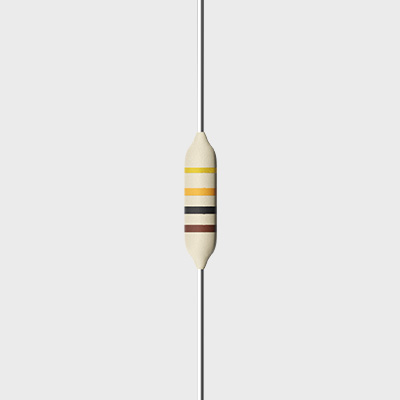
Resistor
Both legs are the same.
Step 2
Code some chaos
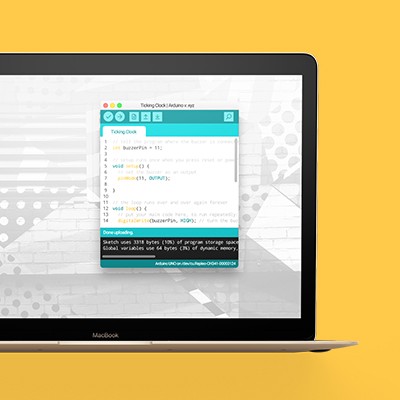
Don’t forget to select your port, like usual
Copy and paste the sample code
int LDR = 0;
int buzzer = 11;

void setup() {
  pinMode(LDR, INPUT);
  pinMode(buzzer, OUTPUT);
}

void loop() {

  if(analogRead(LDR) > 150) {
     alarmTrigger(1);
  }

}

void alarmTrigger(int i) {
  for(int x = 0; x < i; x++) {
    digitalWrite(buzzer, HIGH);
    delay(500);
    digitalWrite(buzzer, LOW);
    delay(500);
  }
}
Upload the code and test it out
Step 3
Modify the madness
Change how much light triggers the alarm
To trigger the alarm, the program first needs to see that there’s enough light. However, you may want to fine-tune exactly how much light we need to set off the alarm. At the moment, it’s set to a value of 150 on line 11 of the code.
if(analogRead(LDR) > 150) {That line of code is just saying that we should run the next few lines of code which trigger the alarm if we have light over a value of 150. If we decrease this, it will take less light to trigger the alarm. If increase this, it will need to be brighter for the alarm to go off.
Change how long the alarm stays on
Once the alarm has been triggered by a certain level of light, we can control exactly how long it stays on for afterwards. In our program, we set the alarm to beep five times before resetting, ready to be triggered again. Take a look at line 12:
alarmTrigger(1); // Trigger the alarm for 1 beepBy changing this code, we can either increase or decrease the number of beeps that the alarm stays on for when triggered. If we wanted it to stay on for 10 beeps, we would use the following code:
alarmTrigger(10); // Trigger the alarm for 10 beepsChange the sound of the alarm
We can change the tone – or in other words, the sound – of the beeping using something called the tone() function. Take a look at the code on lines 26-29, which is what we are currently using for our beeps:
analogWrite(buzzer, 255);
delay(500);
analogWrite(buzzer, 0);
delay(500);
To be able to change the tone of the beeps, replace lines 19-22 of your program with the following code:
tone(buzzer, 1000, 500);
delay(1000);
The following code works like this: tone(buzzer, pitch, length). Replace the word pitch with any number you like, and this will control the sound of the beep. Replace the word length with exactly how long you want the beep to go for in milliseconds.
Here’s a different beeping sound that you can try out on your project:
tone(buzzer, 5000, 750);
delay(1000);