This is another one of those devices with sounds and flashing lights! For this invention, you’ll create a beeping sound and flashing light. Annoying!
Parts list
What you’ll need


Step 1
Let’s build this

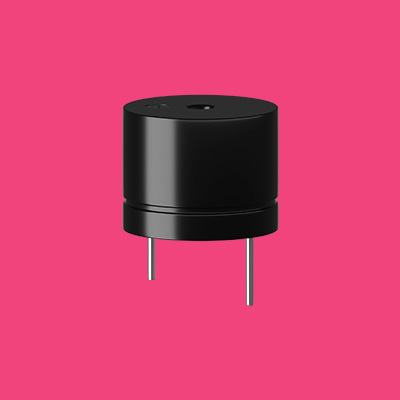
This is the positive leg of the buzzer. It will have a ‘+’ over top and will also be longer than the other leg.
Don’t forget to plug the board into your computer with the supplied USB cable.
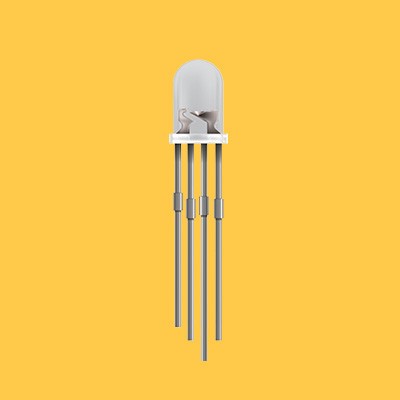
On this standard LED, the longer leg is positive and the shorter leg is negative.
You can use any LED you like for this project, except for the RGB LEDs with four legs.
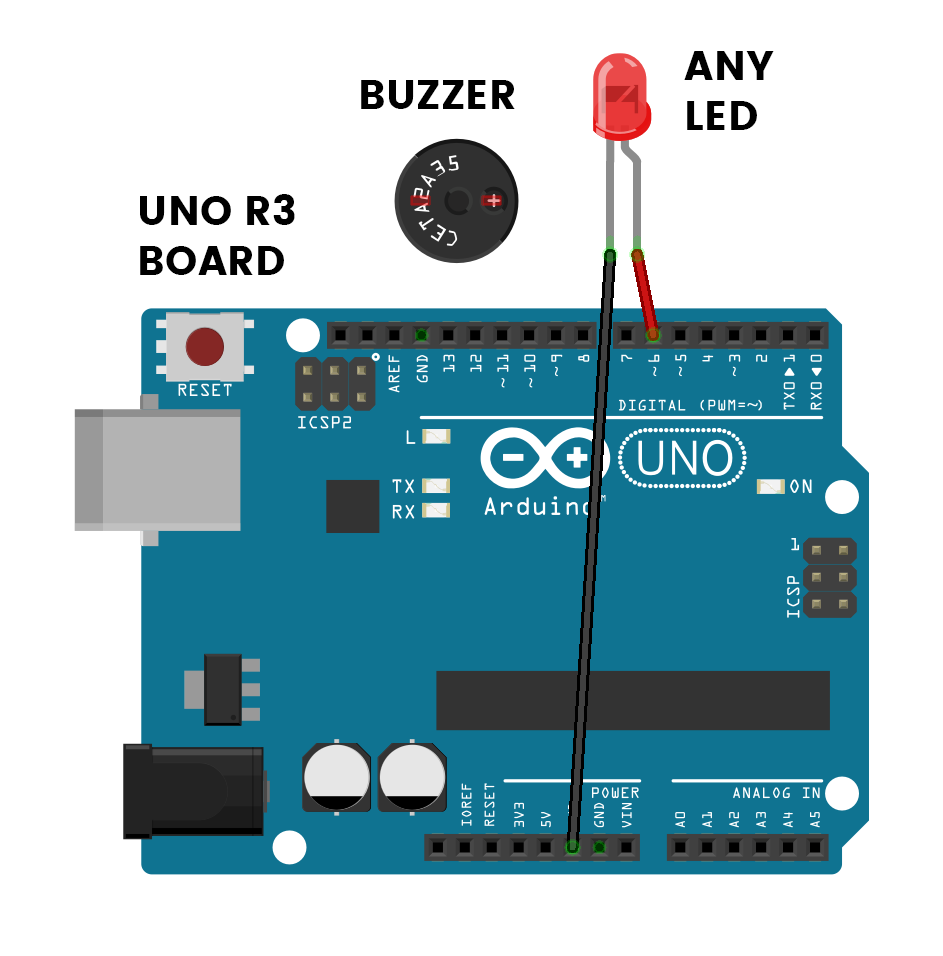
Connections
Buzzer
The +LEG is the longer leg.
Any LED
The +LEG is the longer leg.
Step 2
Code some chaos
Don’t forget to select your port, like usual
Copy and paste the sample code
int buzzer = 11;
int led = 6;

void setup() {
  // put your setup code here, to run once:
  pinMode(buzzer, OUTPUT);
  pinMode(led, OUTPUT);
}

void loop() {
  // put your main code here, to run repeatedly:
  tone(buzzer, 500, 50);
  for (int i = 100; i > 0; i = i * 0.9) {
    analogWrite(led, i);
    delay(25);
  }
  delay(250);
}
Upload the code and test it out
Step 3
Modify the madness
Change the time between beeps
After the buzzer has finishes its short beep and the LED has faded, there’s a short pause before the cycle begins again. At the moment, this delay is set to just 250 milliseconds, or a quarter of a second. This is set on line 17 of the code.
delay(250);We can change this number to whatever we like, and thus change the pause between the beeping and flashing cycles. Because the number is in milliseconds, if we wanted to change the delay to 1 and a half seconds, we would need to use the following code:
delay(1500);This is because 1000 milliseconds is equal to 1 second. If we wanted to wait 2 seconds, we would need to type 2000 instead of 1500.
Change how long the LED fades for
Want to make it take a little longer to fade? Or are you impatient, and want to speed it up so that you can see it flash more often? We can change how long it takes for the LED to fade in the code on line 15.
delay(25);The LED fades by starting up at full brightness and then decreasing, waiting, decreasing, waiting, and . . . you get the picture. The delay on line 15 is that short wait before the LED’s brightness is decreased again. If we increase this, then it will take longer for the LED to fade. Below is an example of what you could change the code to if you wanted the fading to take a little longer:
delay(45);