Everyone loves arcade games. In this project, you’ll be building and programming one that will have your family and friends frustrated for hours. Someone too good at it? You can tweak a few lines of code and make the Impossible Game even more impossible.
How does the game work? An RGB (colour-changing) LED will cycle through three different colours at a very fast pace. To win the game, you need to press the touch sensor when the LED is displaying the colour red. Be warned: it’s not as easy as it sounds.
Parts list
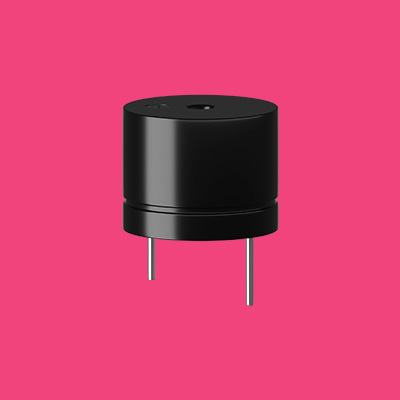
What you’ll need



Step 1
Let’s build this
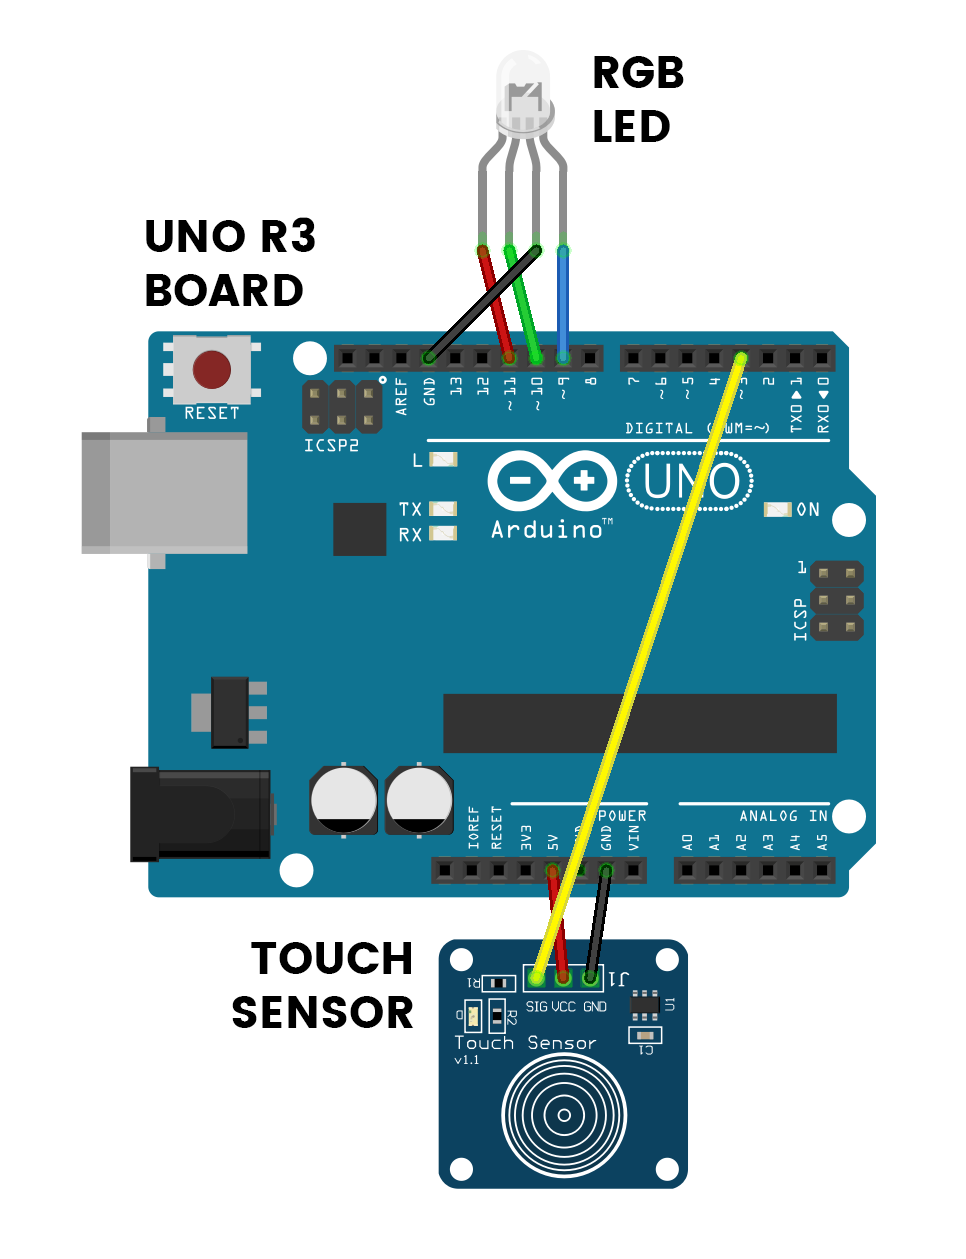
The wire colours indicate the LED colour they trigger, e.g. the leg connected to the blue wire triggers a blue colour.
Don’t forget to plug the board into your computer with the supplied USB cable.
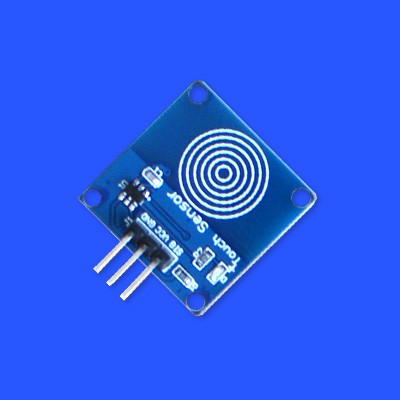
The touch sensor is like a button, except that you only have to touch it lightly.
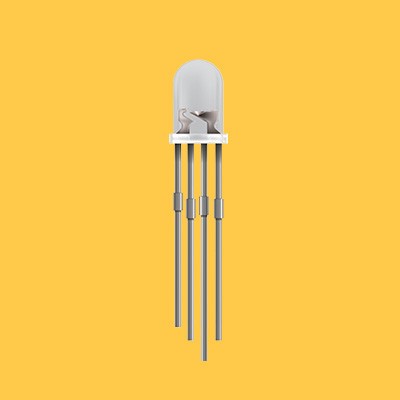
The longest leg of the LED connects to the black wire. This is the negative leg.
Connections
Buzzer
The +LEG is the longer leg.
Touch Sensor
Use wires to join these.
Step 2
Code some chaos
Don’t forget to select your port, like usual
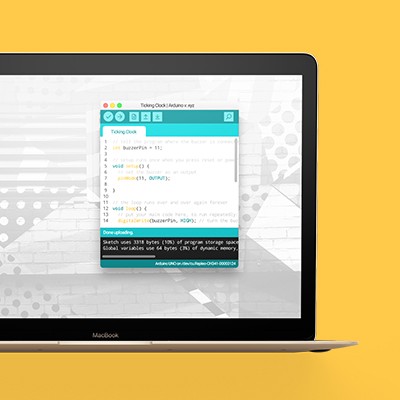
Copy and paste the sample code
int led1 = 9;
int led2 = 10;
int led3 = 11;
int touchSensor = 3;

int lightPosition = led1;
int pause = 100;
bool btnPressed = false;
long lastMove = millis();

void setup() {
  // put your setup code here, to run once:
  pinMode(led1, OUTPUT);
  pinMode(led2, OUTPUT);
  pinMode(led3, OUTPUT);
  pinMode(touchSensor, INPUT);
}

void loop() {
  // put your main code here, to run repeatedly:
  if(millis() - lastMove >= pause) {
    lastMove = millis();
    move();
  }
  if(digitalRead(touchSensor)==HIGH) {
    if(lightPosition == led3 && btnPressed == false) {
      for (int x = led1; x <= led3;x++) { analogWrite(x, 50); }
      while(true) {
      }
    } else {
      btnPressed = true;
    }
  } else {
    btnPressed = false;
  }
}

void move() {
  for (int x = led1; x <= led3;x++) { digitalWrite(x, LOW); }
  if(lightPosition < led3) {
    lightPosition++;
  } else {
    lightPosition = led1;
  }
  analogWrite(lightPosition, 50);
}
Upload the code and test it out
Step 3
Modify the madness
Change the speed of the colour-changing cycle
For once, this change isn’t all that exciting. Since the volume of the alarm is already maxed out, the only way the volume can be changed is by bringing it down. But still, if the beeping is a little too loud, then this might be helpful. Line 14 is where the buzzer’s volume is set. Let’s take a look.
analogWrite(buzzer, 255);The volume here is set with a value anywhere between 0 and 255, where 0 is completely off and 255 is maximum volume. Try a few different values to see what they do to the program.
Change how long each beep goes for
In line 5, you can see that we have set ‘beepLength’ to equal ‘500’. This is what’s called a variable, but more on that later. Changing this number will alter the length and space between each beep.
int beepLength = 500;The beepLength is used in the program to control the amount of time that the beep stays on for and also the time that it is off for. This is done with a delay on lines 17 and 21 of the code.
int beepLength = 100;You always have to use a number for a delay to work properly, but because beepLength was given a number (500) earlier on in the code, that is how many milliseconds the delay will go for.
What is cool is that when we change beepLength in line 5 of the code to something else, like 750, the delay time on lines 17 and 21 will change to 750 milliseconds with it.