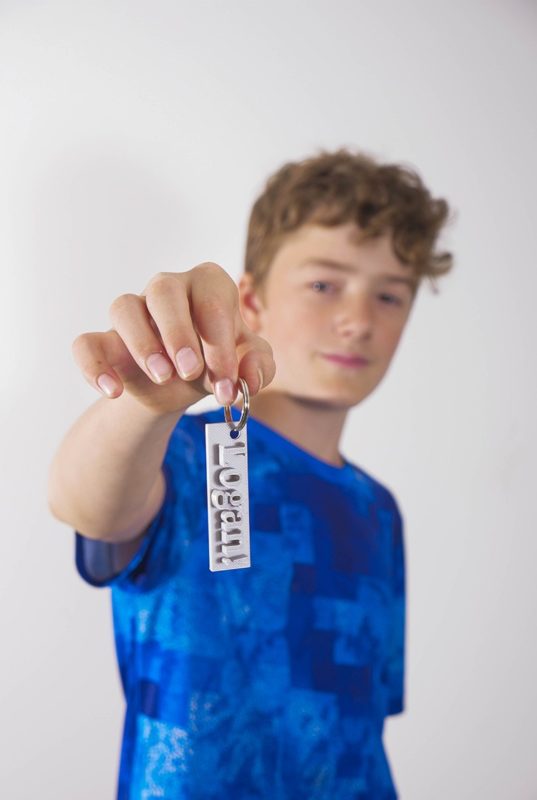
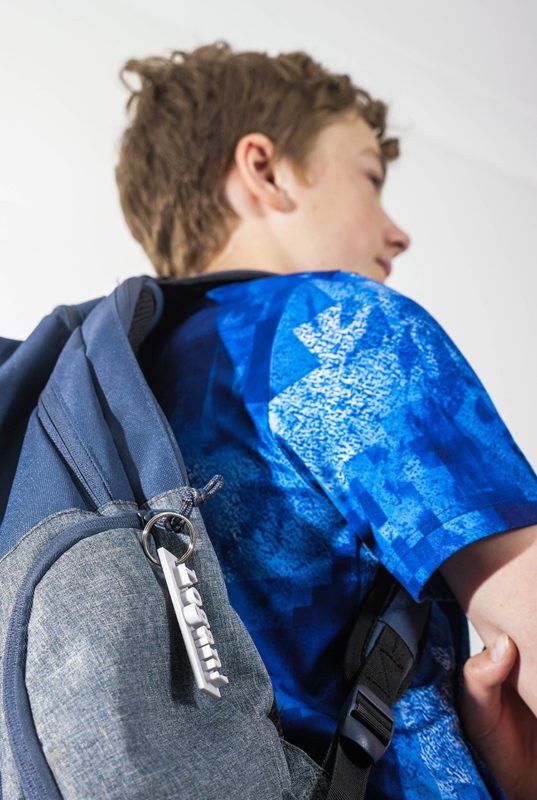
In this project, we’ll be using Tinkercad to design a key tag to pimp your bag. Throughout the challenge, you’ll learn how to add text to your 3D models and cut through them with other shapes.
This is a beginner-friendly tutorial, so no experience is required. All you’ll need is a computer and a Tinkercad account to follow along.
Step 1
Building the base
Let’s give it a name
First, click up in the project name bar. Give your project a name that identifies what it is.

Edit the size of the workplane
Click on the Edit Grid button at the bottom right of the window. This lets us change the size of the workplane.

EduKits will only be able to print your design if it is a certain size. Set the grid size to 75mm x 75mm and click ‘Update Grid.
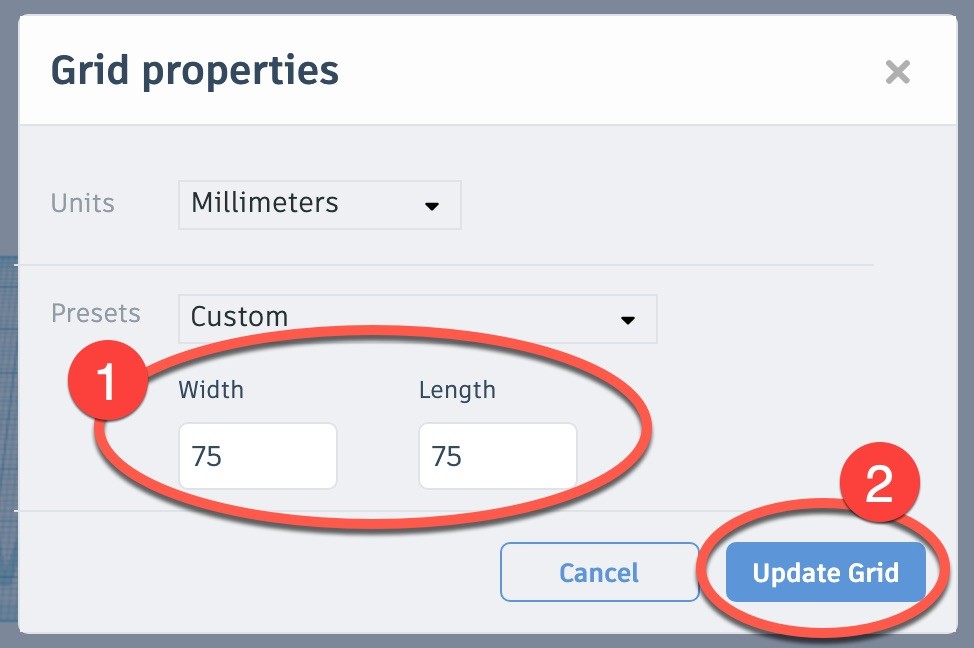
Your screen should now look like this. You can zoom in using the scroll wheel of your mouse.
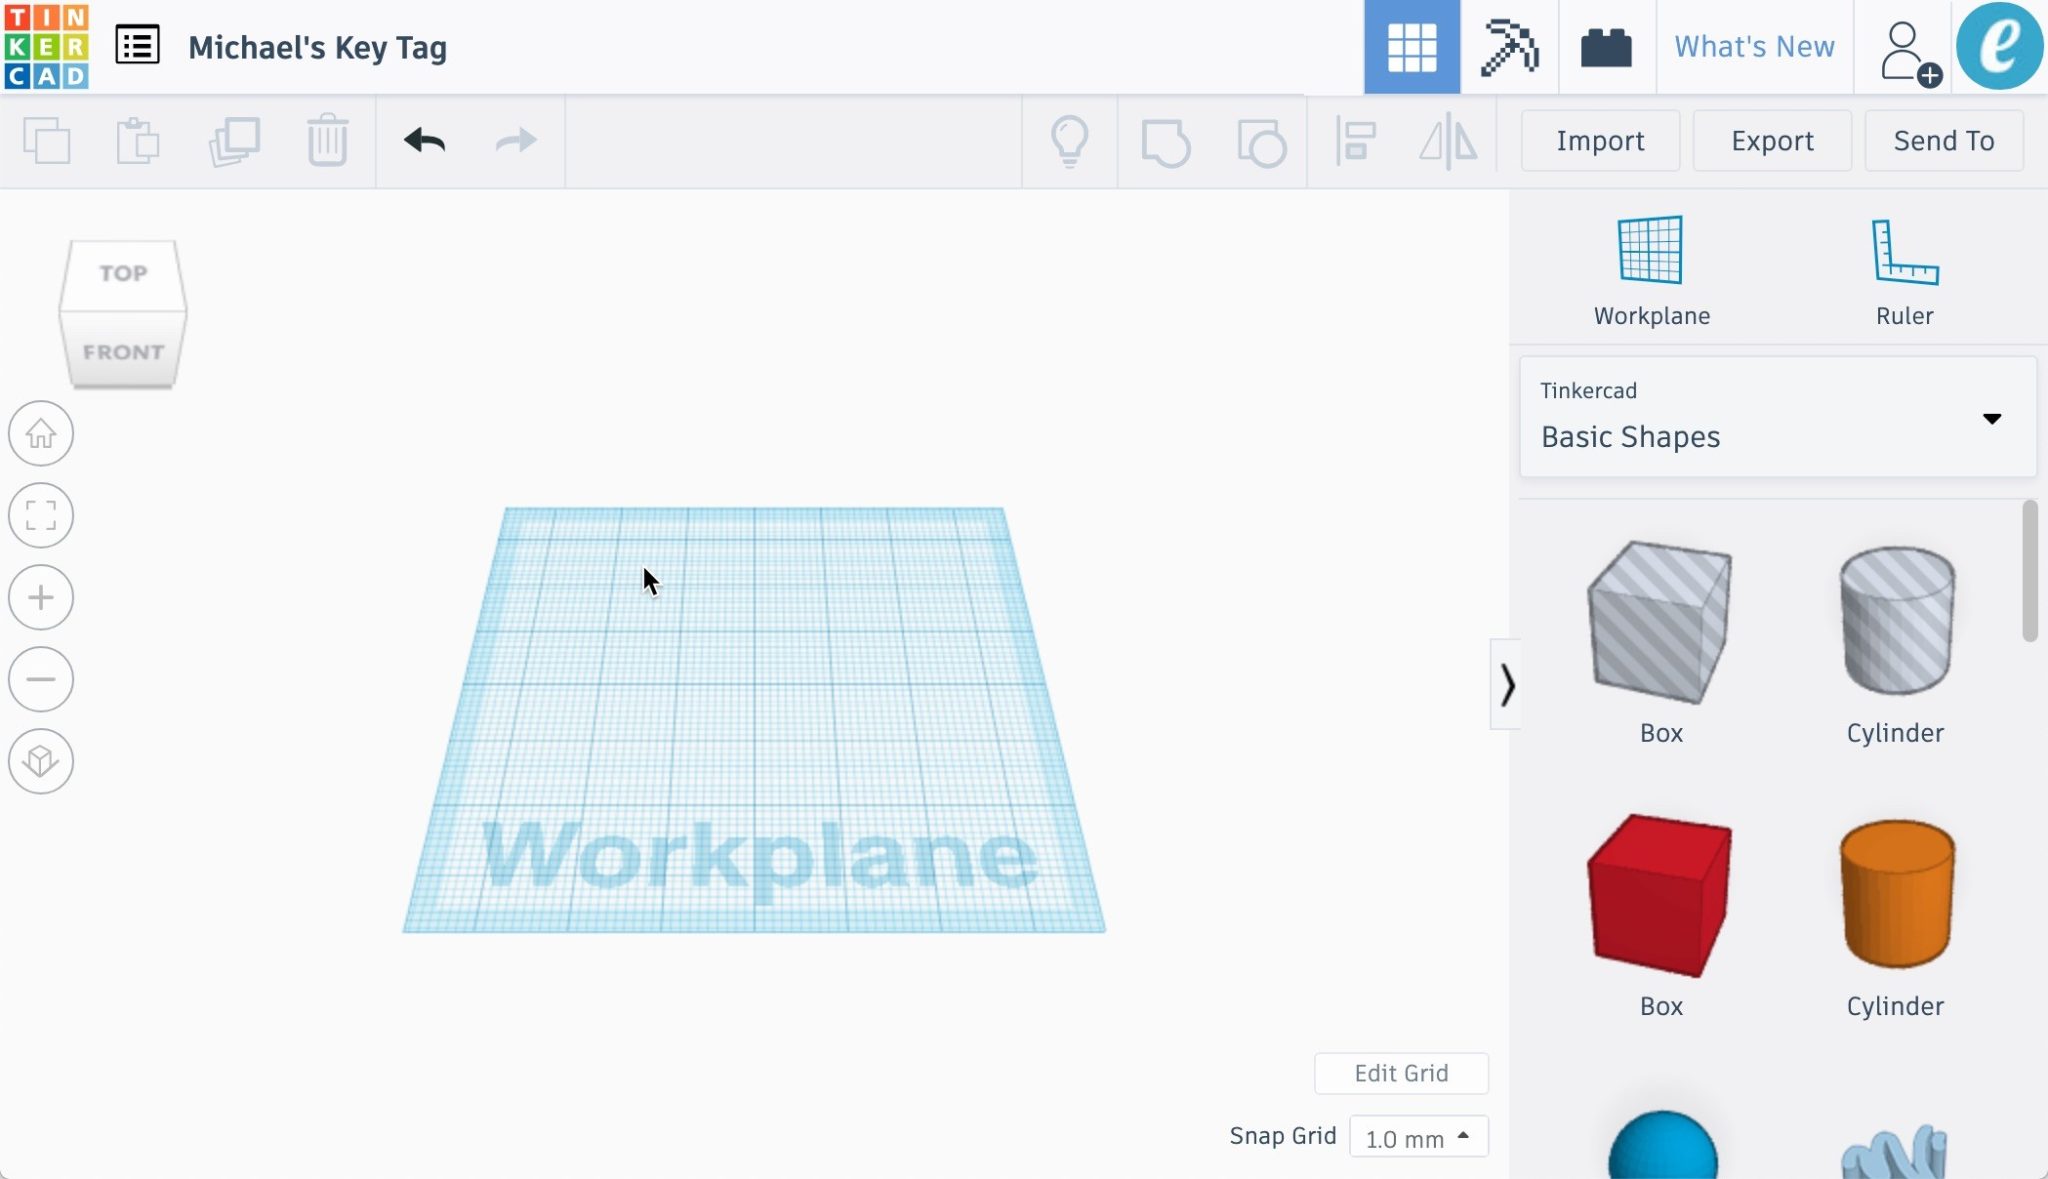
Add a cube
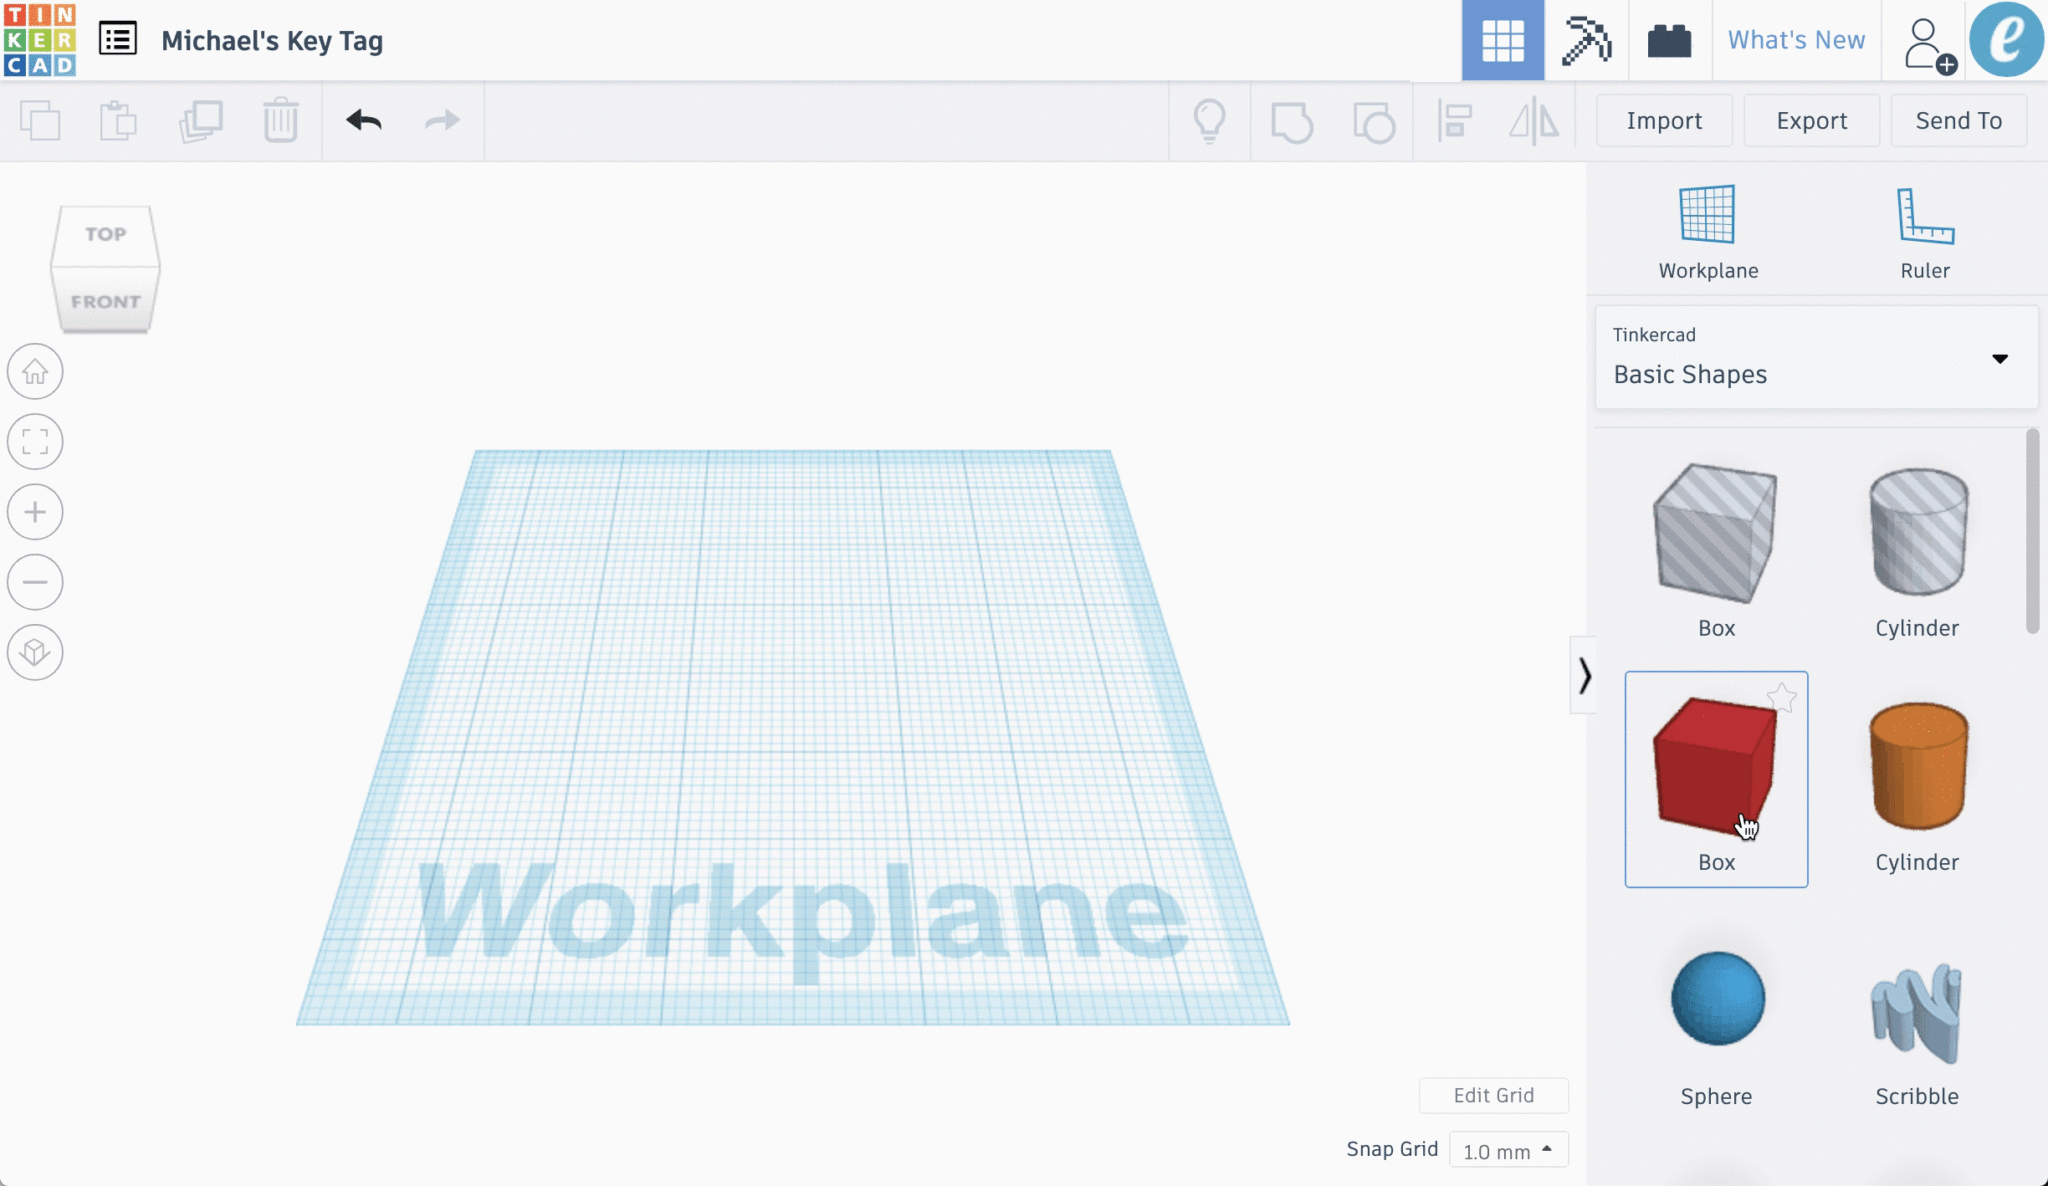
Left click on the box shape in the toolbar to the right. Drag this onto the Workplane (the grid in the centre of the screen).
Edit the dimensions
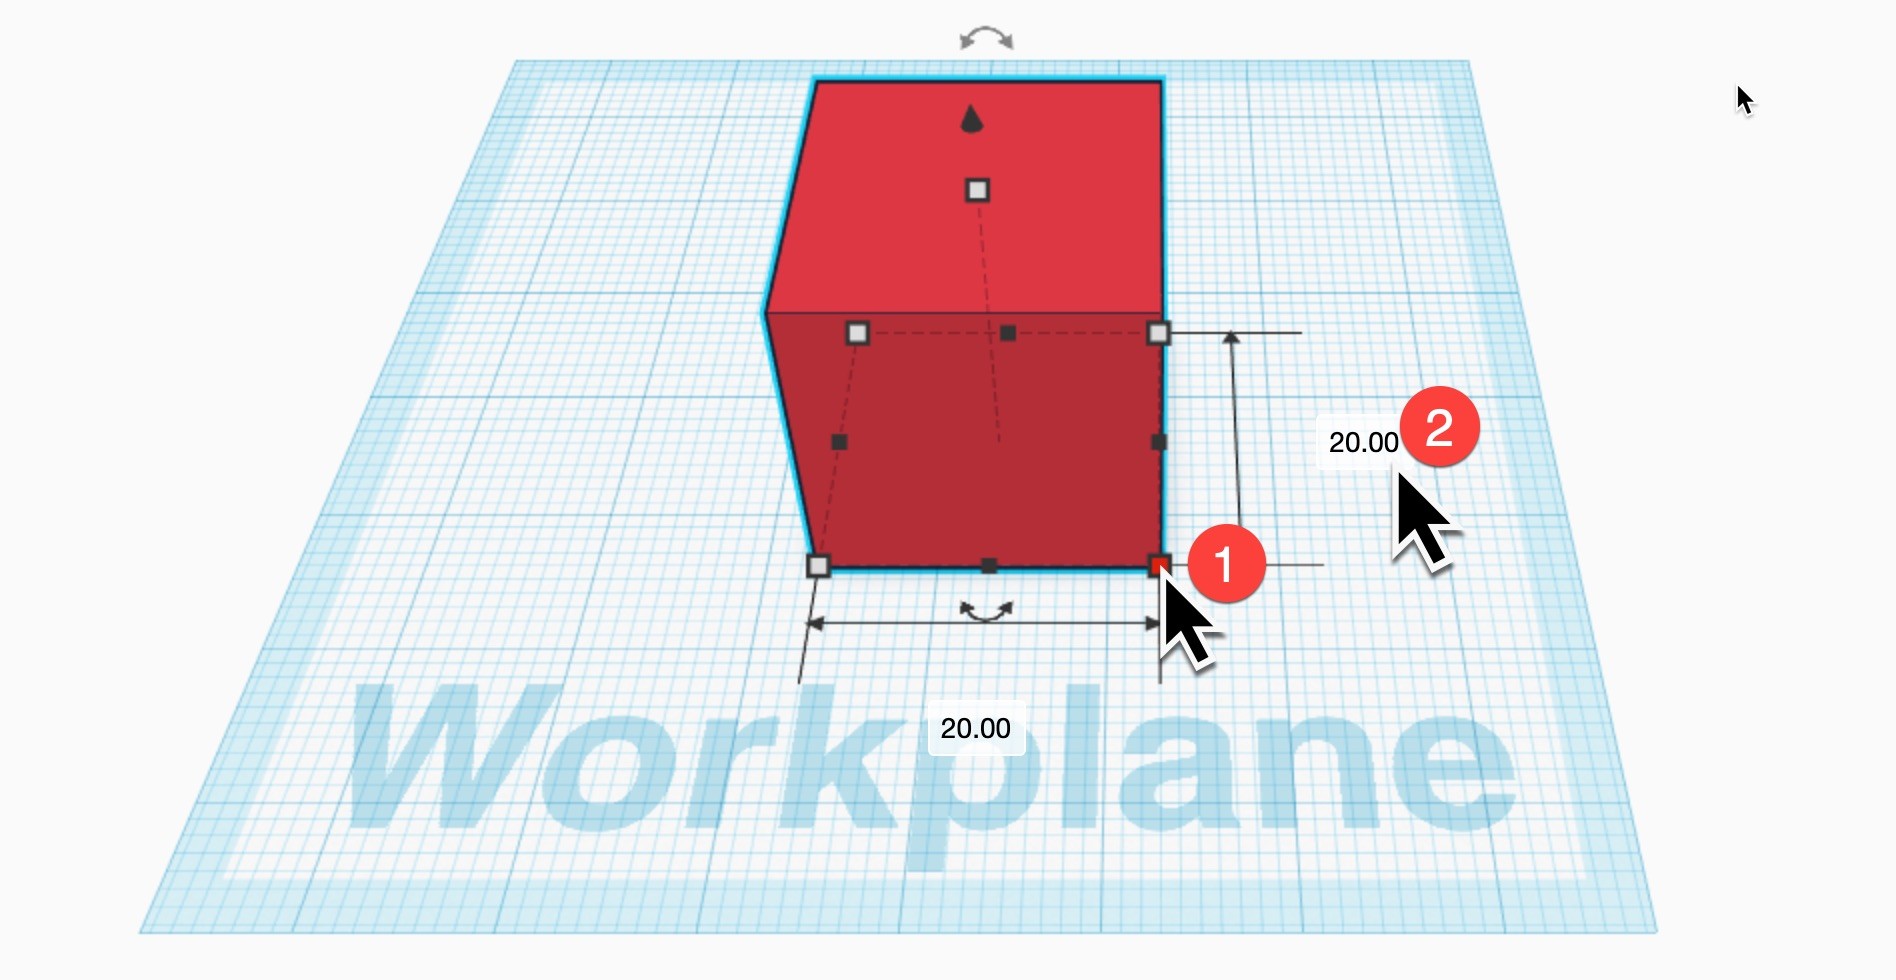
When you hover over the cube, you will notice small boxes appearing around its sides. Click on one of the white boxes on its corners. Now left click on one of the numbers that now appears along the side of the cube.
Clicking on these numbers allows you to change the length and width of the box. We want the dimensions to be 75mm long and 20mm wide, but you can try different dimensions if you’d like.
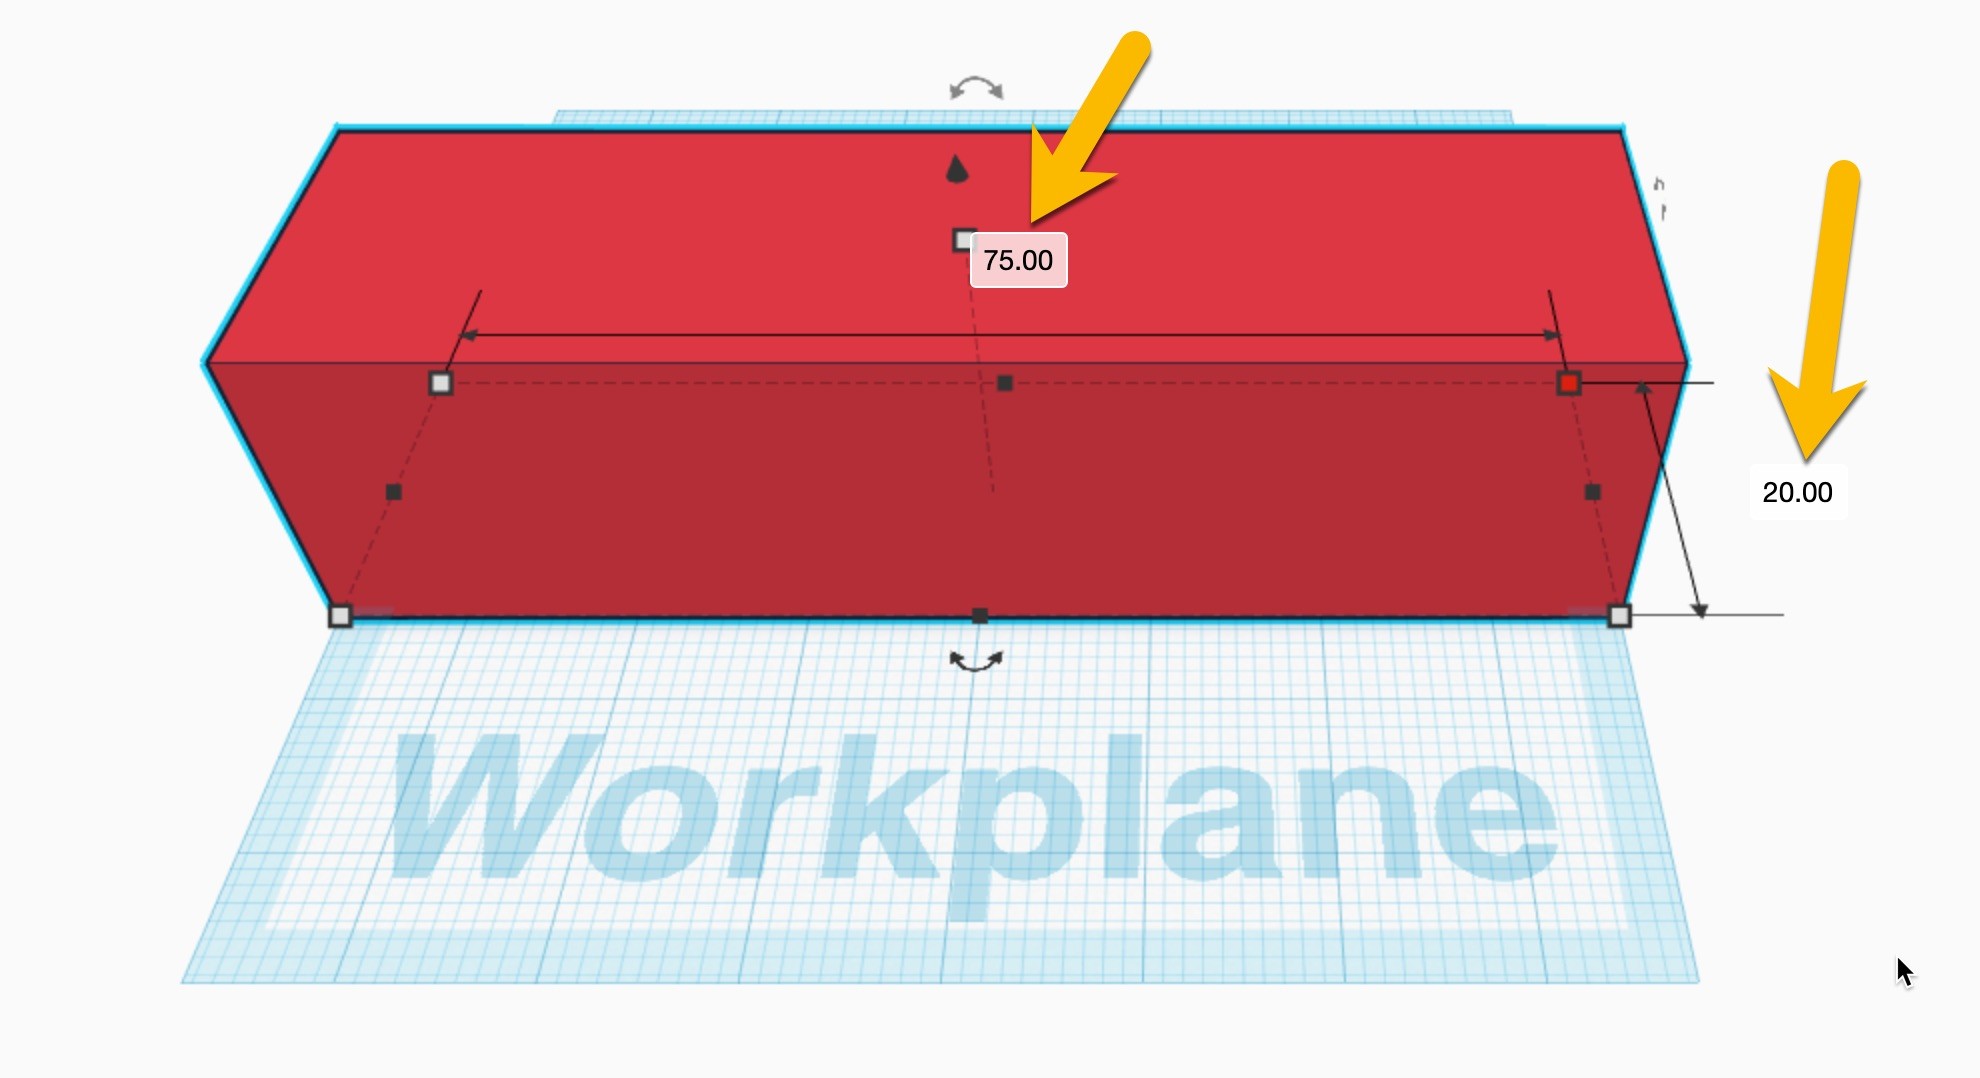
If the base moves off the Workplane, just left click and drag it to reposition it.
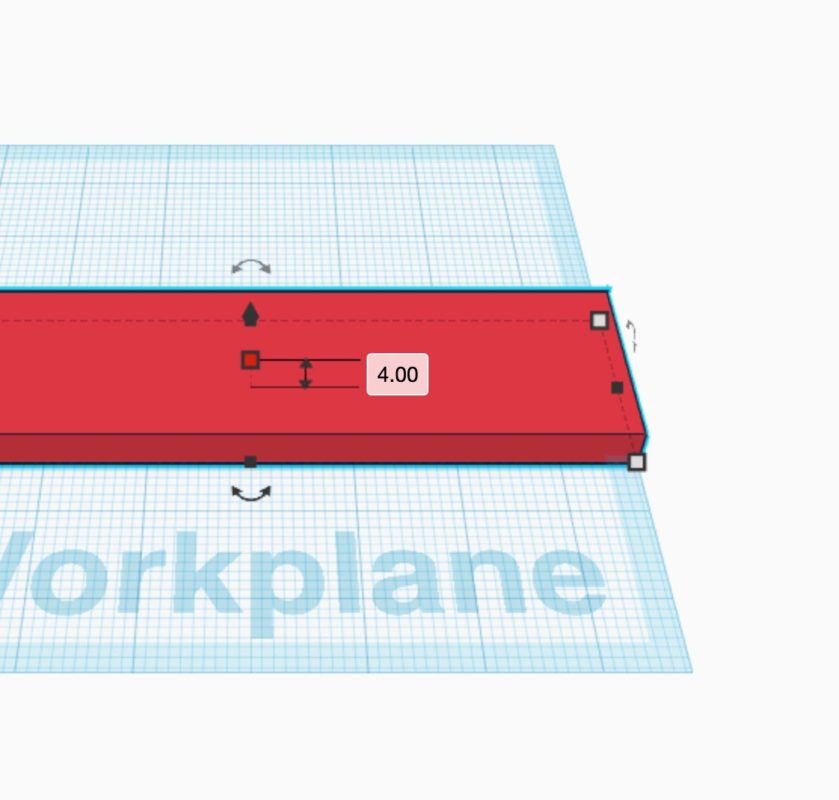
Finally, change the height of the base – it needs to be a bit thinner, otherwise it won’t fit on a keyring. Click on the white box that sits on top of the red base. This controls its height. Change this dimension to 4mm high.
Step 2
Adding text to the tag
Add a new Workplane
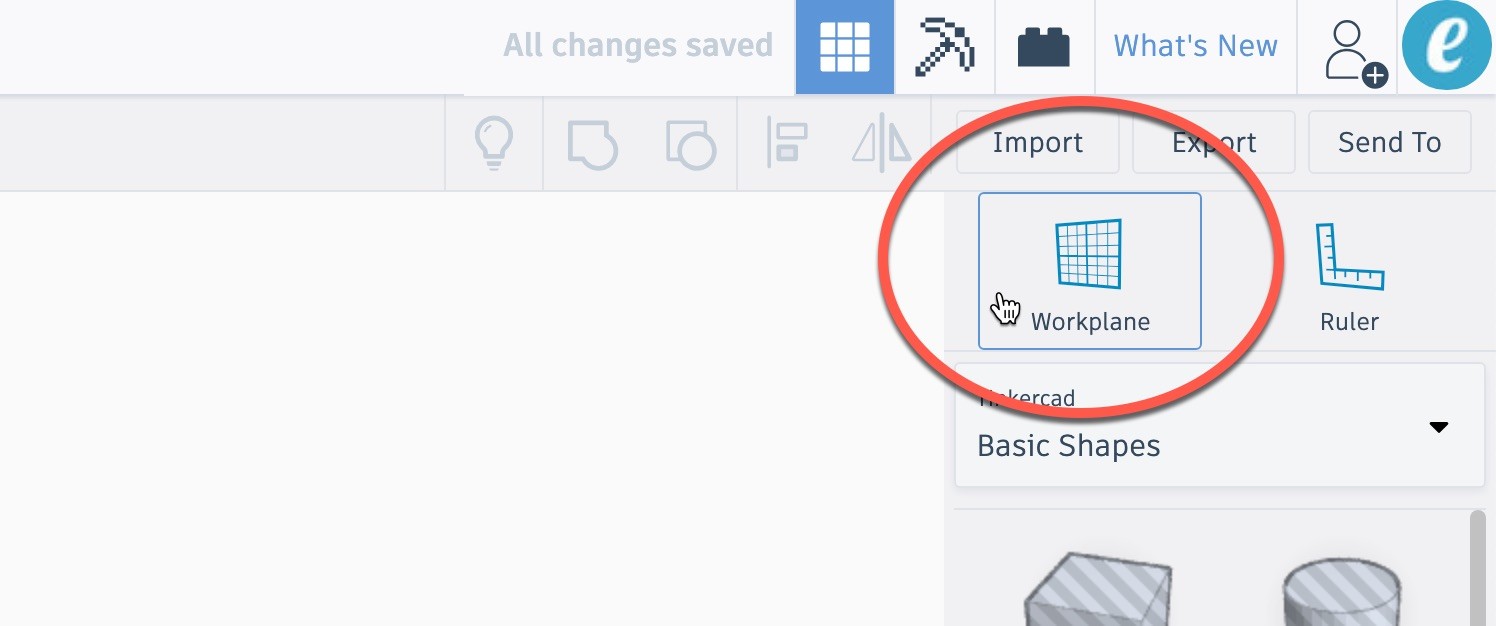
We’re now going to prepare the base to add some text. First, we need to change the position of our work area to be on top of our box, rather than under it. In the right-hand menu, left-click ‘Workplane’.
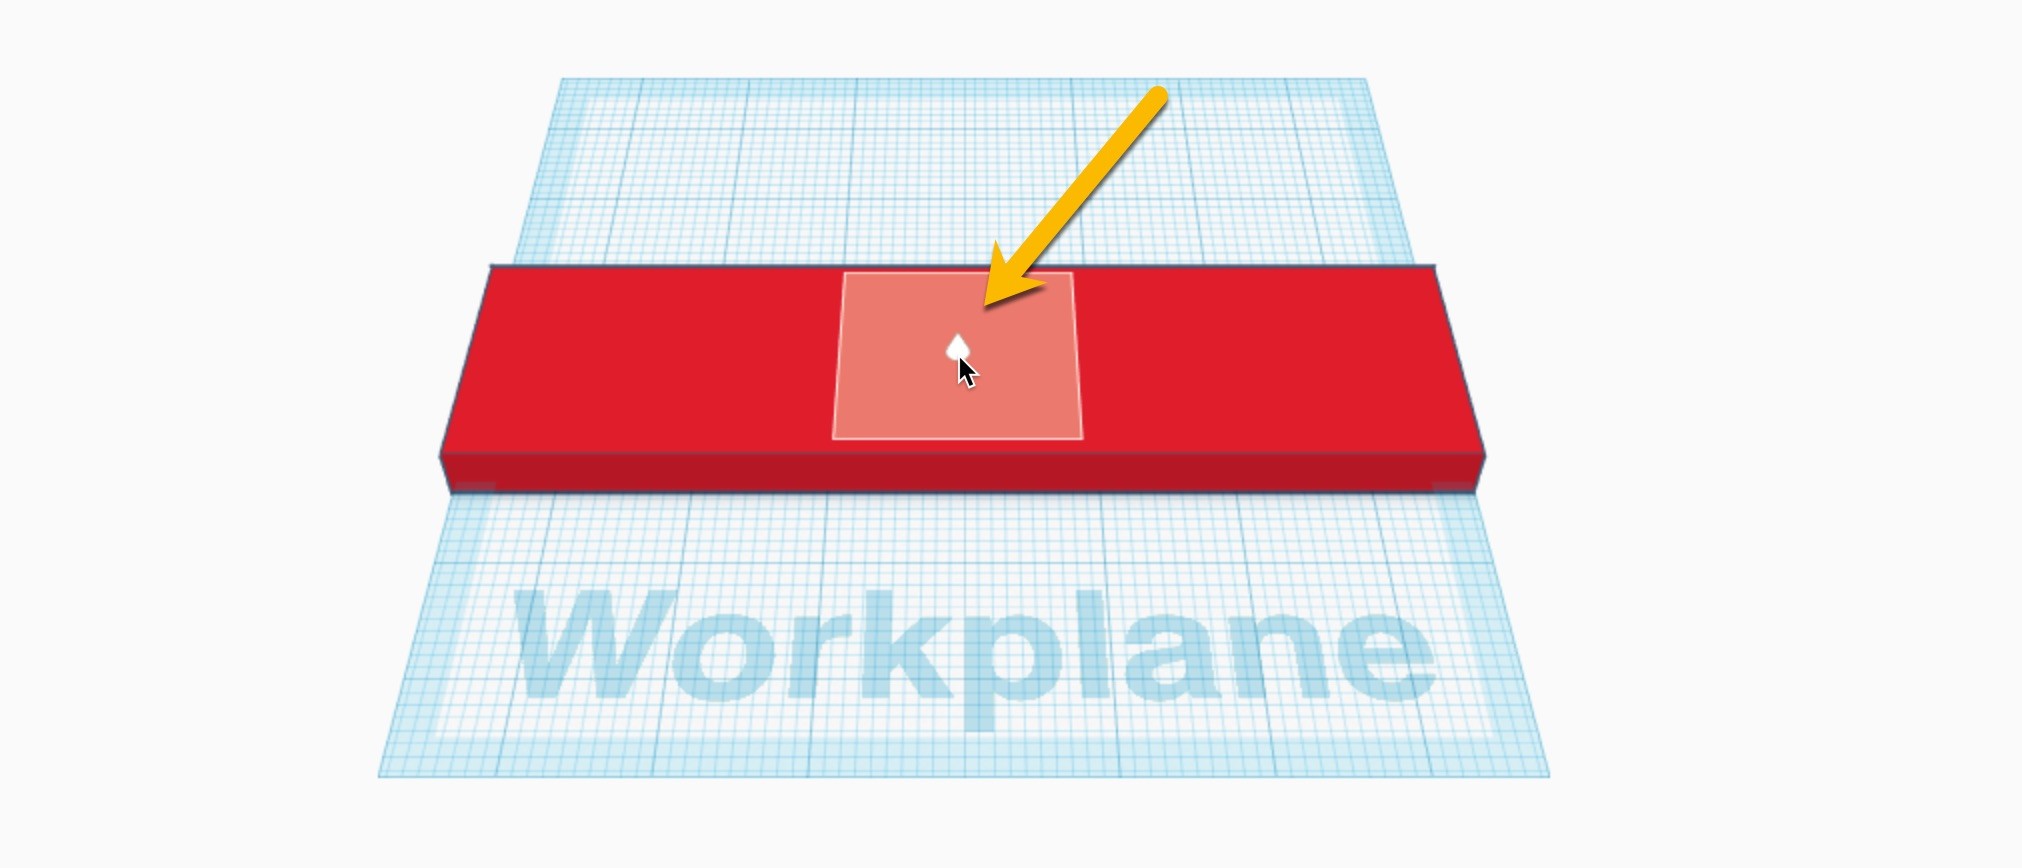
Next, click on top of the red base shape. A new workplane has now been created on top. This means that any new objects we drag into our space will be added on top of our base.
Add a ‘text’ shape
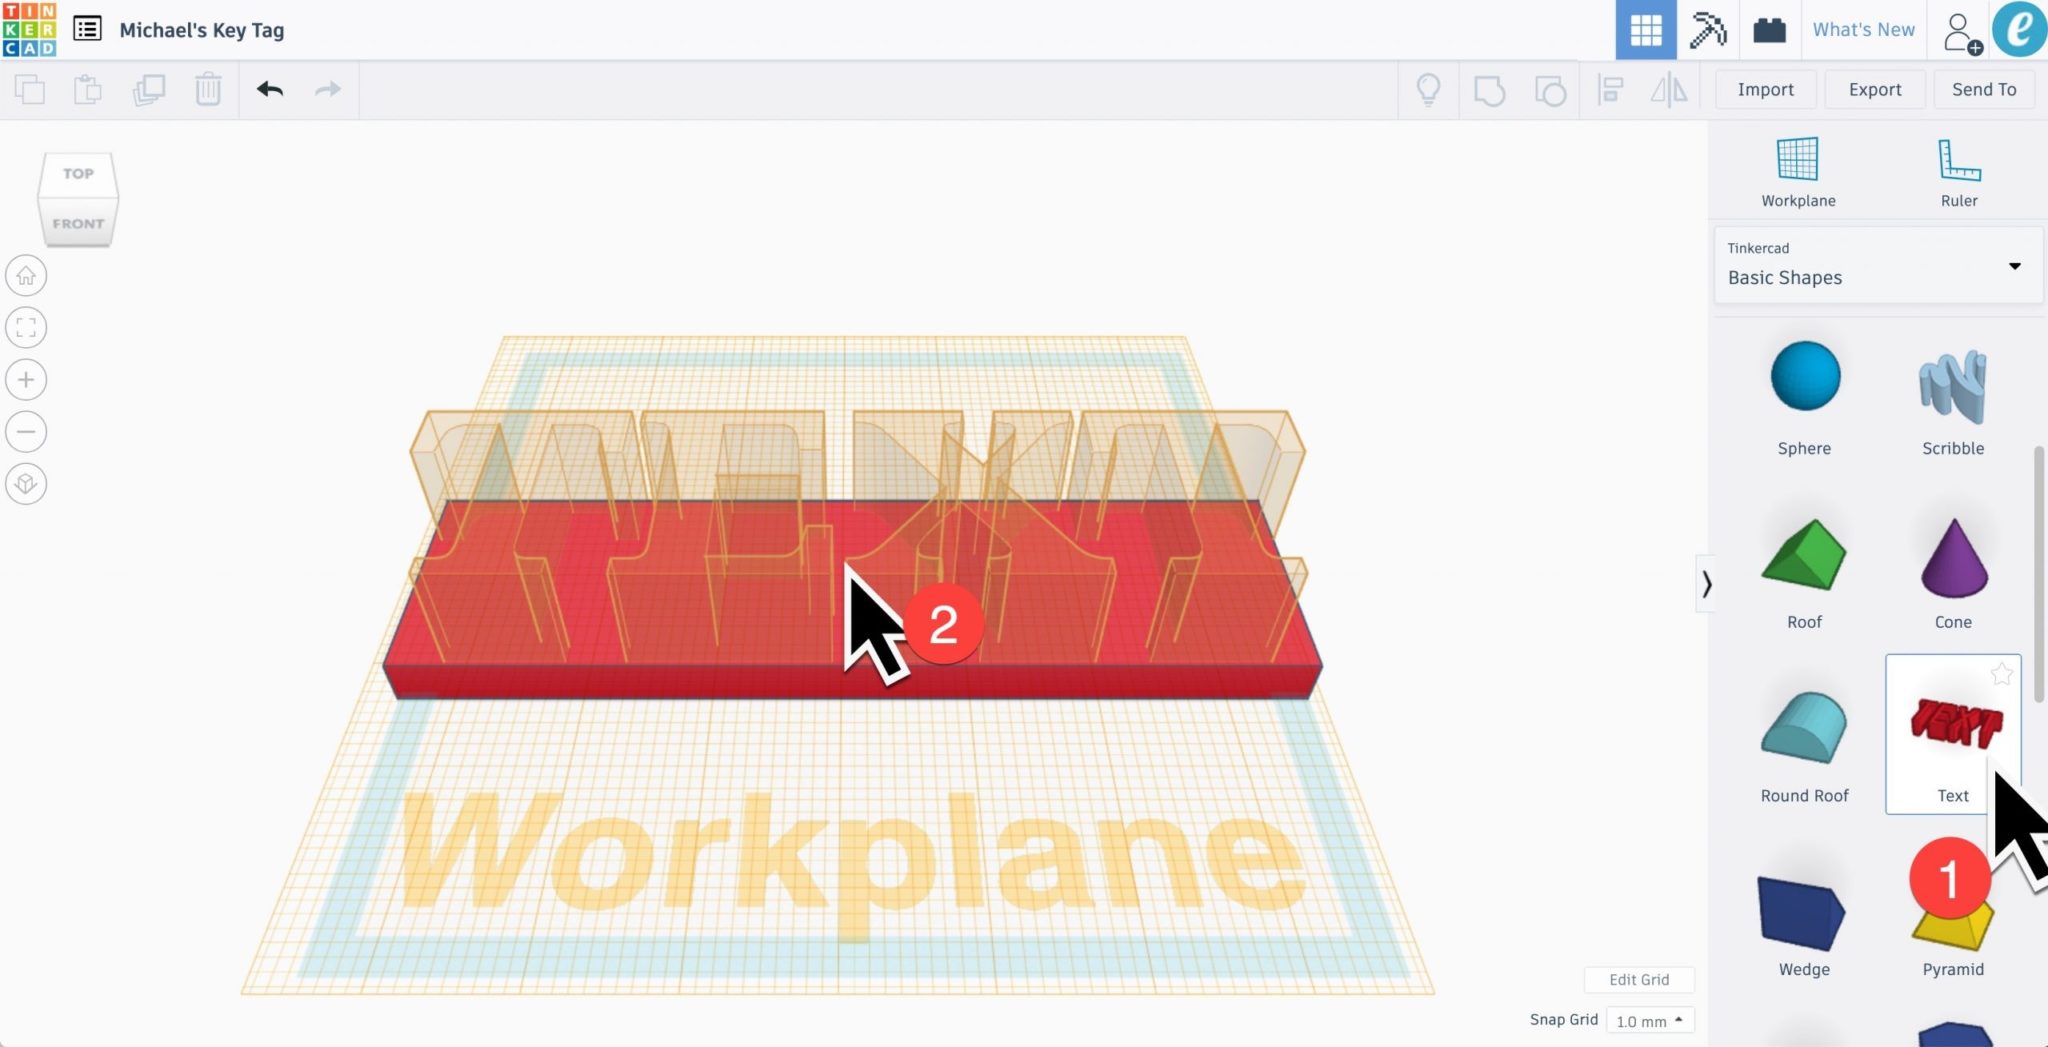
We can now add some text to our bag tag. In the toolbox on the right, find the ‘Text’ shape and left click on it. Then left click on top of the base to position the text. If the text option is not showing, you may have to scroll downwards to find it.
Editing our text is going to be a lot easier if we can view our design from the top. In the top left of the window is View Box which lets us choose how we view our project. Click the option that says to ‘Top’.
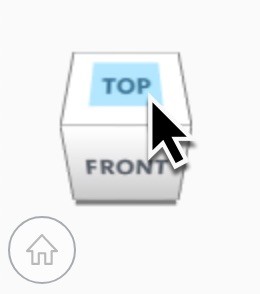
You’ll now be able to see what your bag tag looks like from the top.
Add your name, or someone else’s
Now that you’re in top view, it’s time to change the key tag text to the name of your choice. Different font options are also available.
If you have a long name, there’s going to be some resizing to do to make it fit.
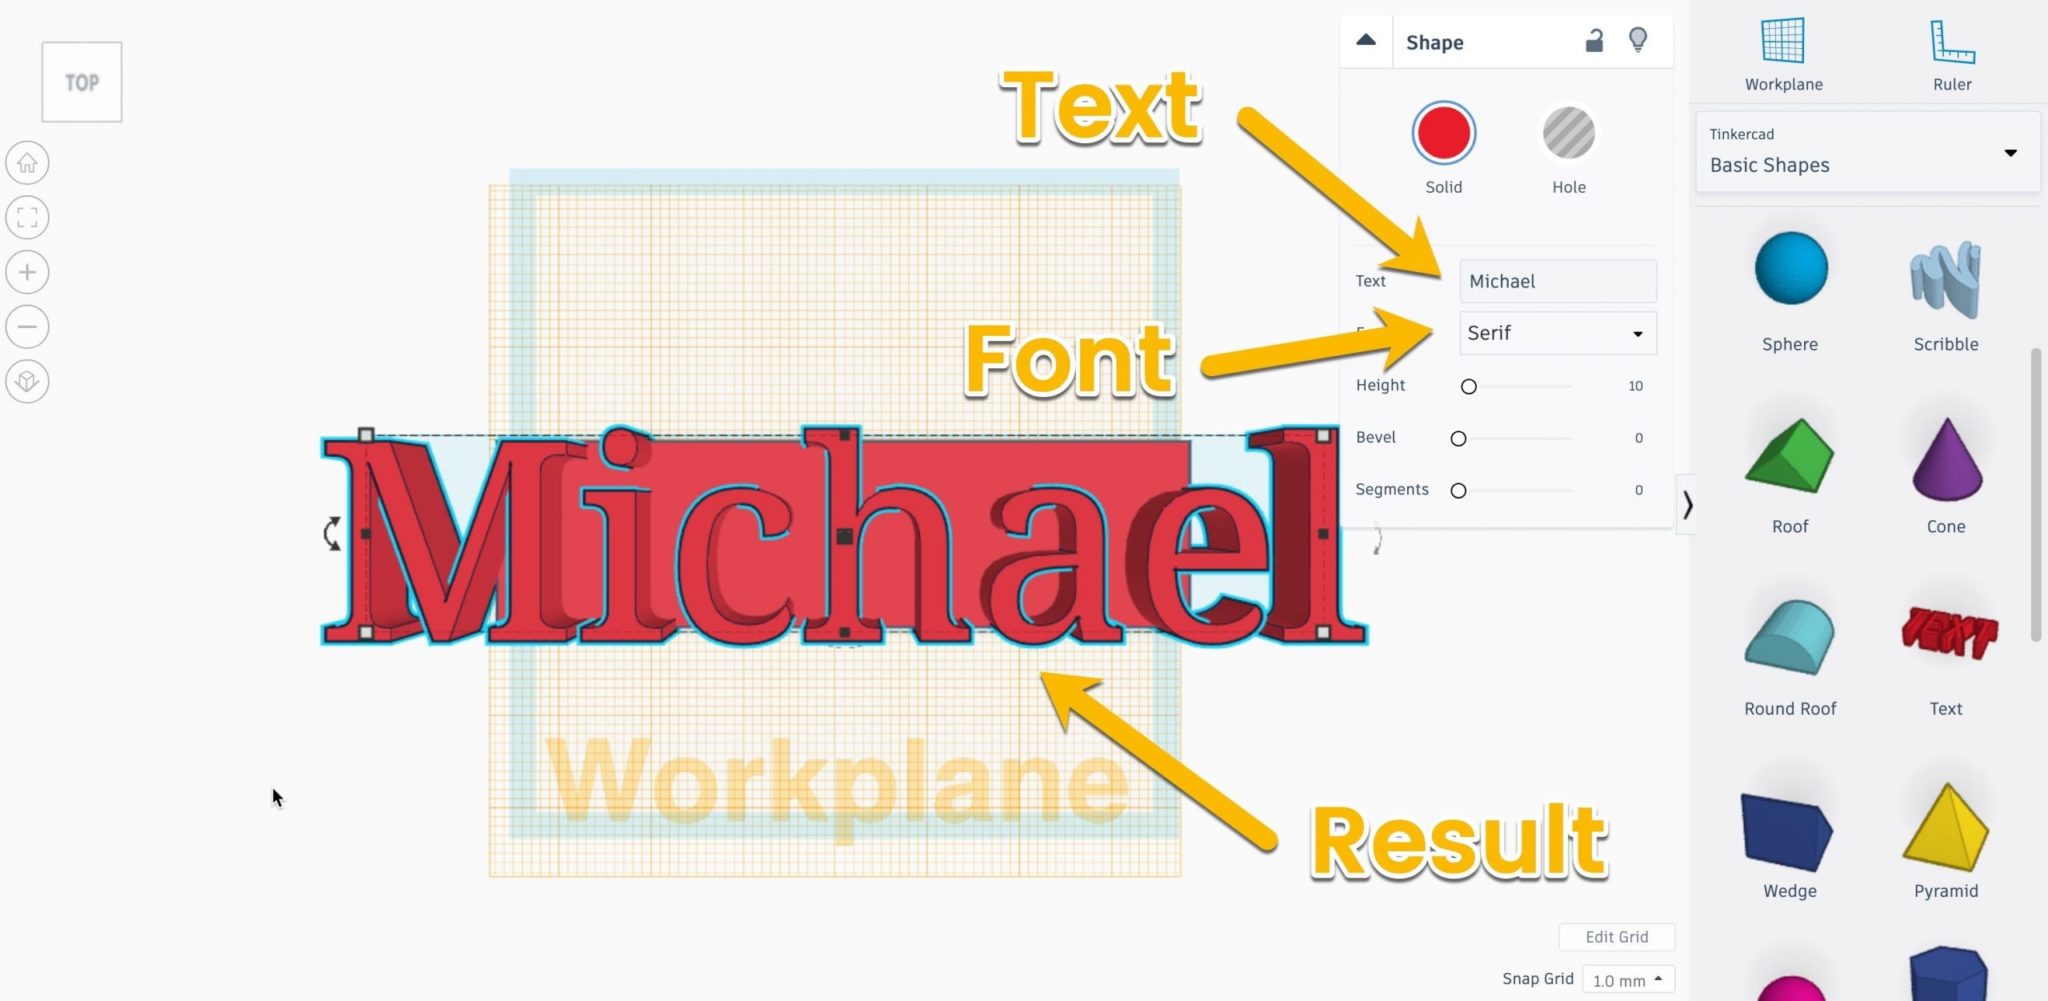
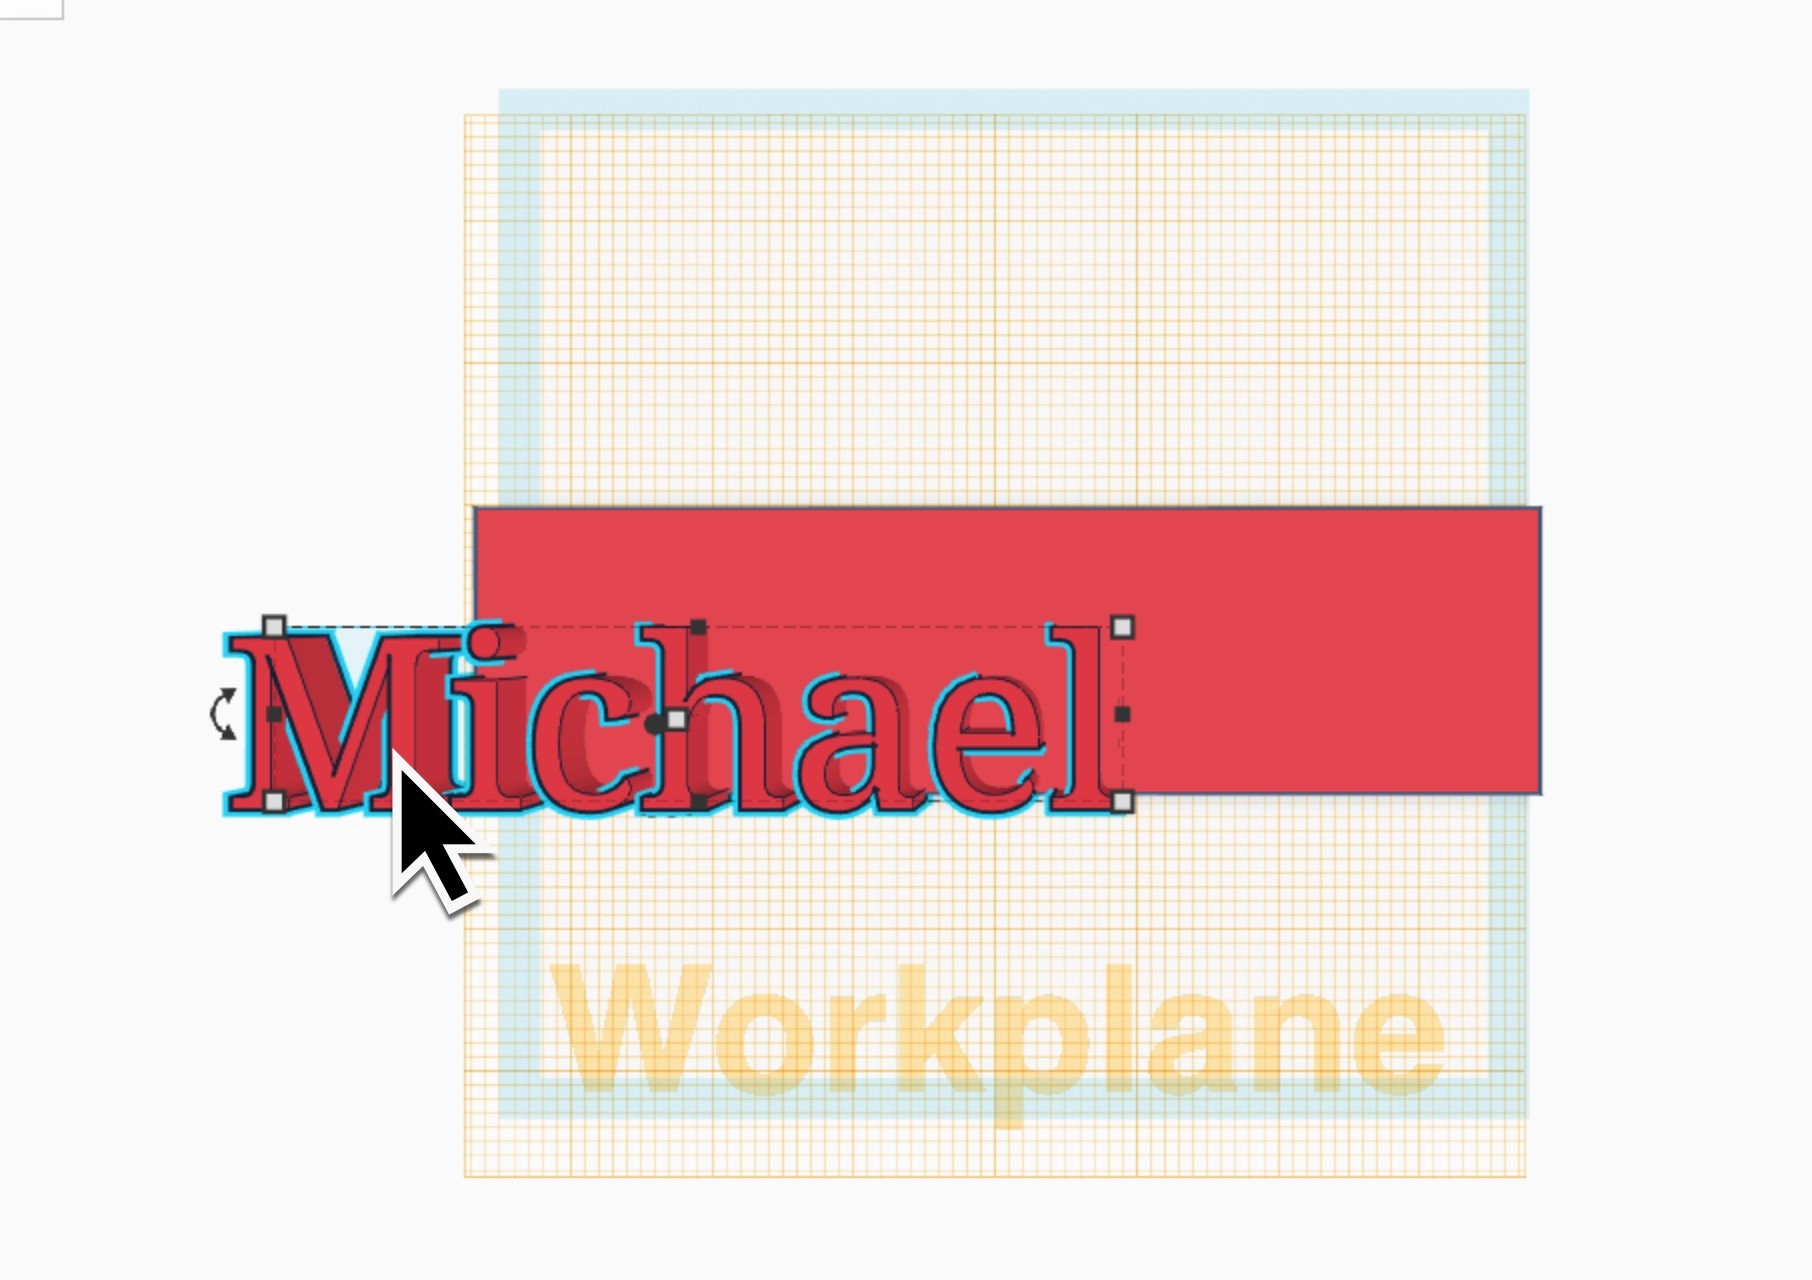
Resizing and repositioning
While holding down the shift key (to maintain height and width ratio), click on the top right corner and slide inwards to make the text smaller.
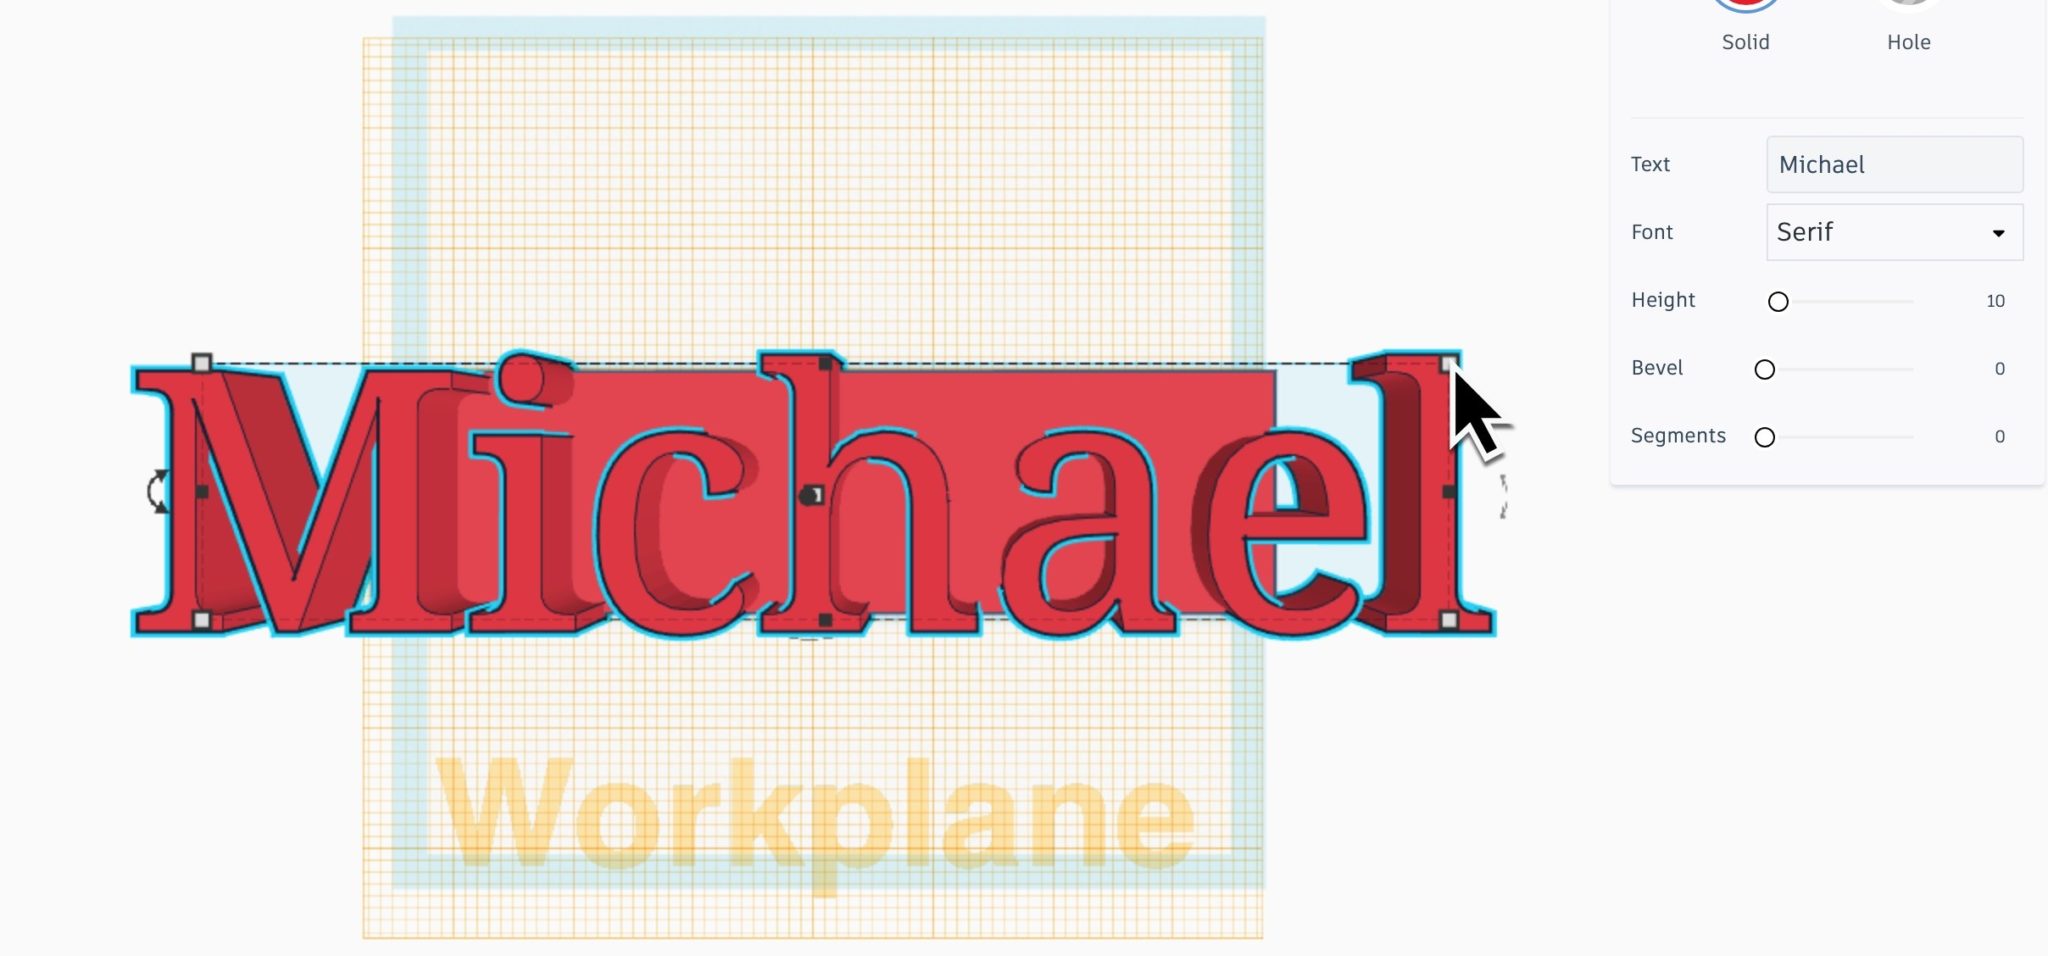
Now that it is resized, we need to properly reposition the text onto the base. Make sure there’s a little room left to the top left of the key tag as we need to add a hole later for the keyring.
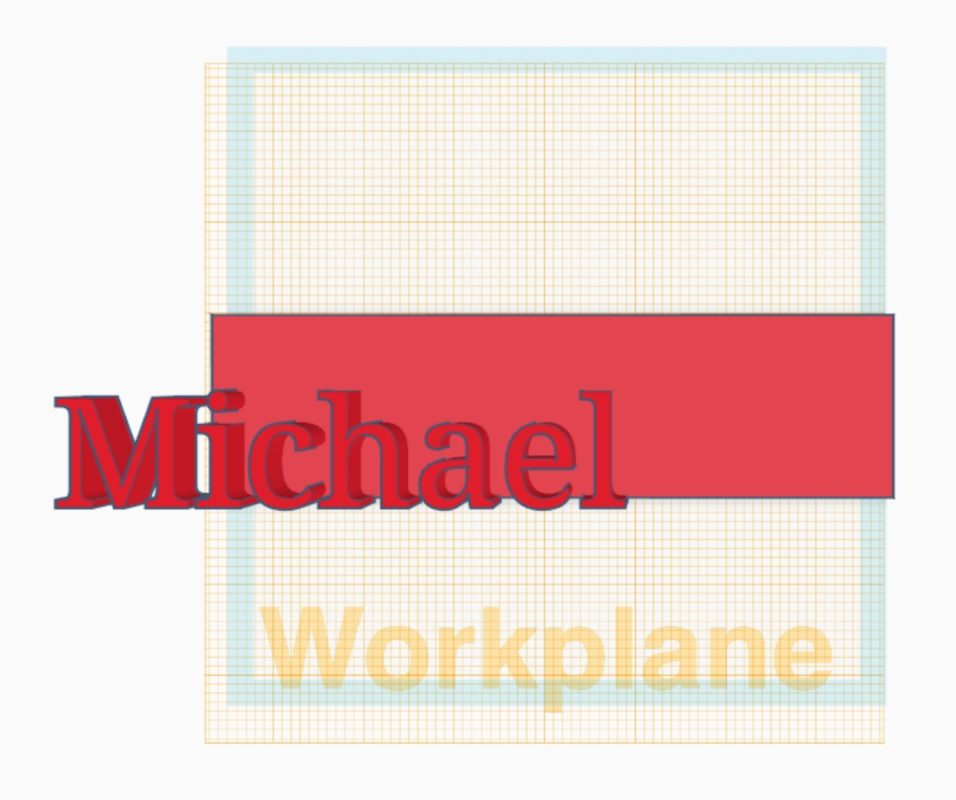
Left click on the text and hold the click while dragging to reposition the text. Release the click to place the text where you want it.
Remove the Workplane
Before continuing onto the next step, we’ll remove the Workplane we added for this step. Click the Workplane icon again, then click the amber (orange) grid to make it disappear. BOOM!
Step 3
Making a hole for the ring
Add a hollow cylinder
Create a hole in our shape by clicking the hollow cylinder. You can find this shape at the top of the shapes Toolbox on the right.
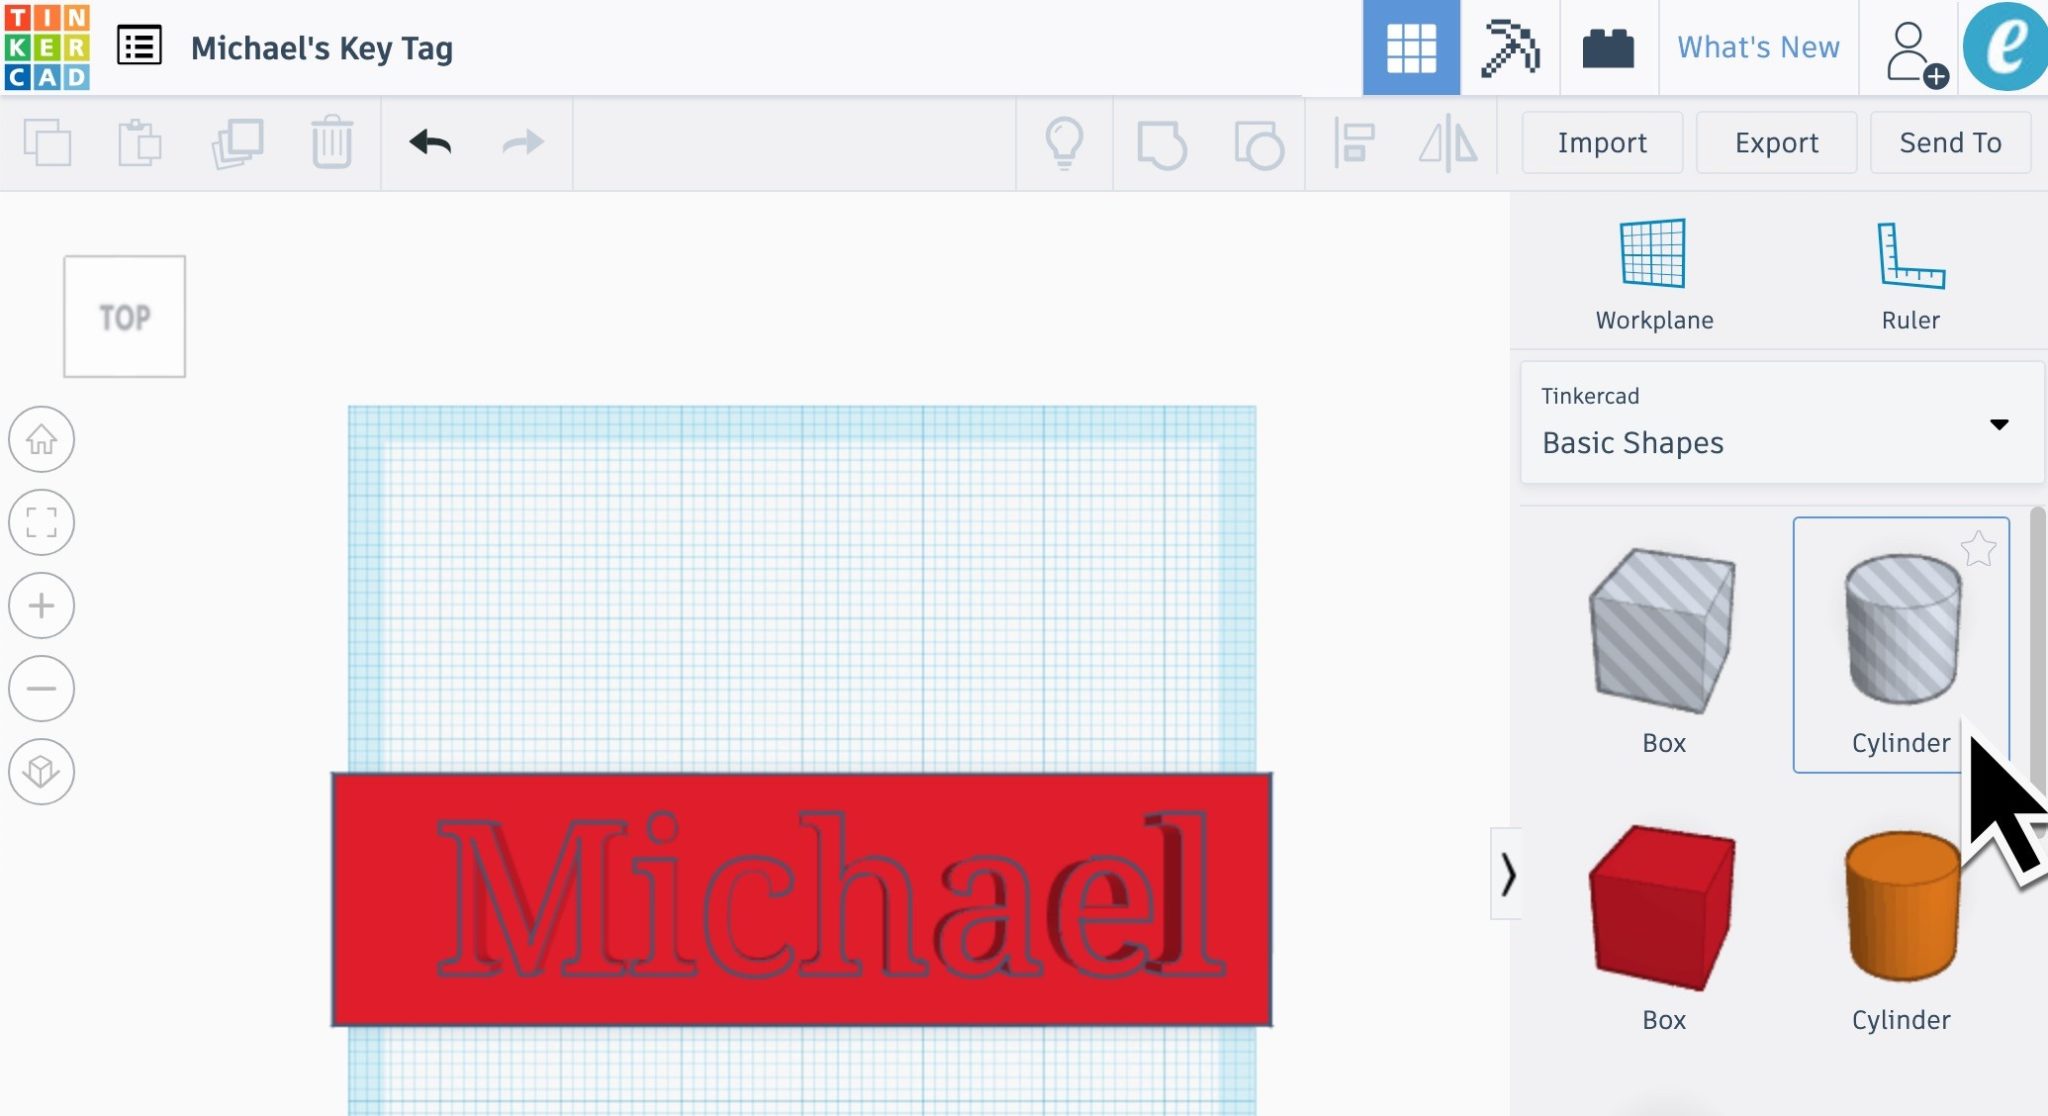
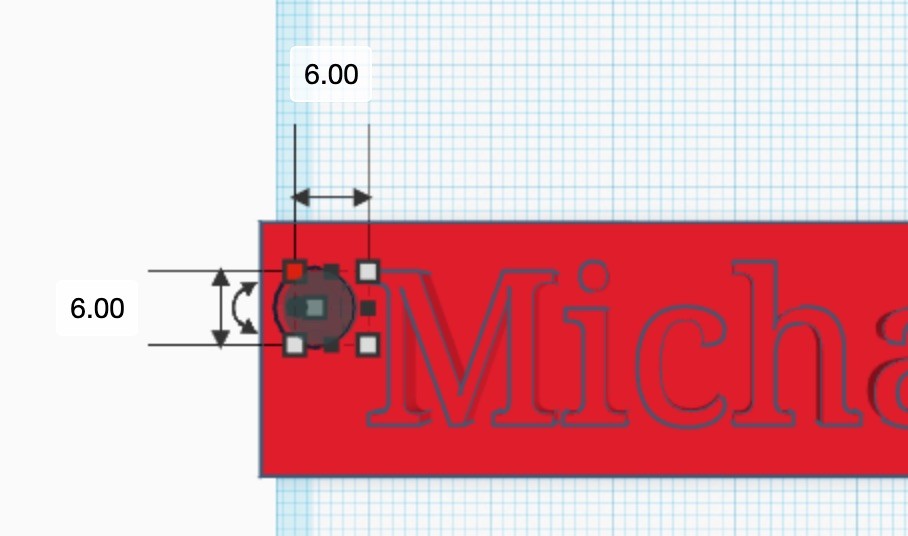
Next, click on our shape to place the hole. It will ‘drop’ wherever you click your cursor. Make sure that you don’t place it somewhere it could cut through the text!
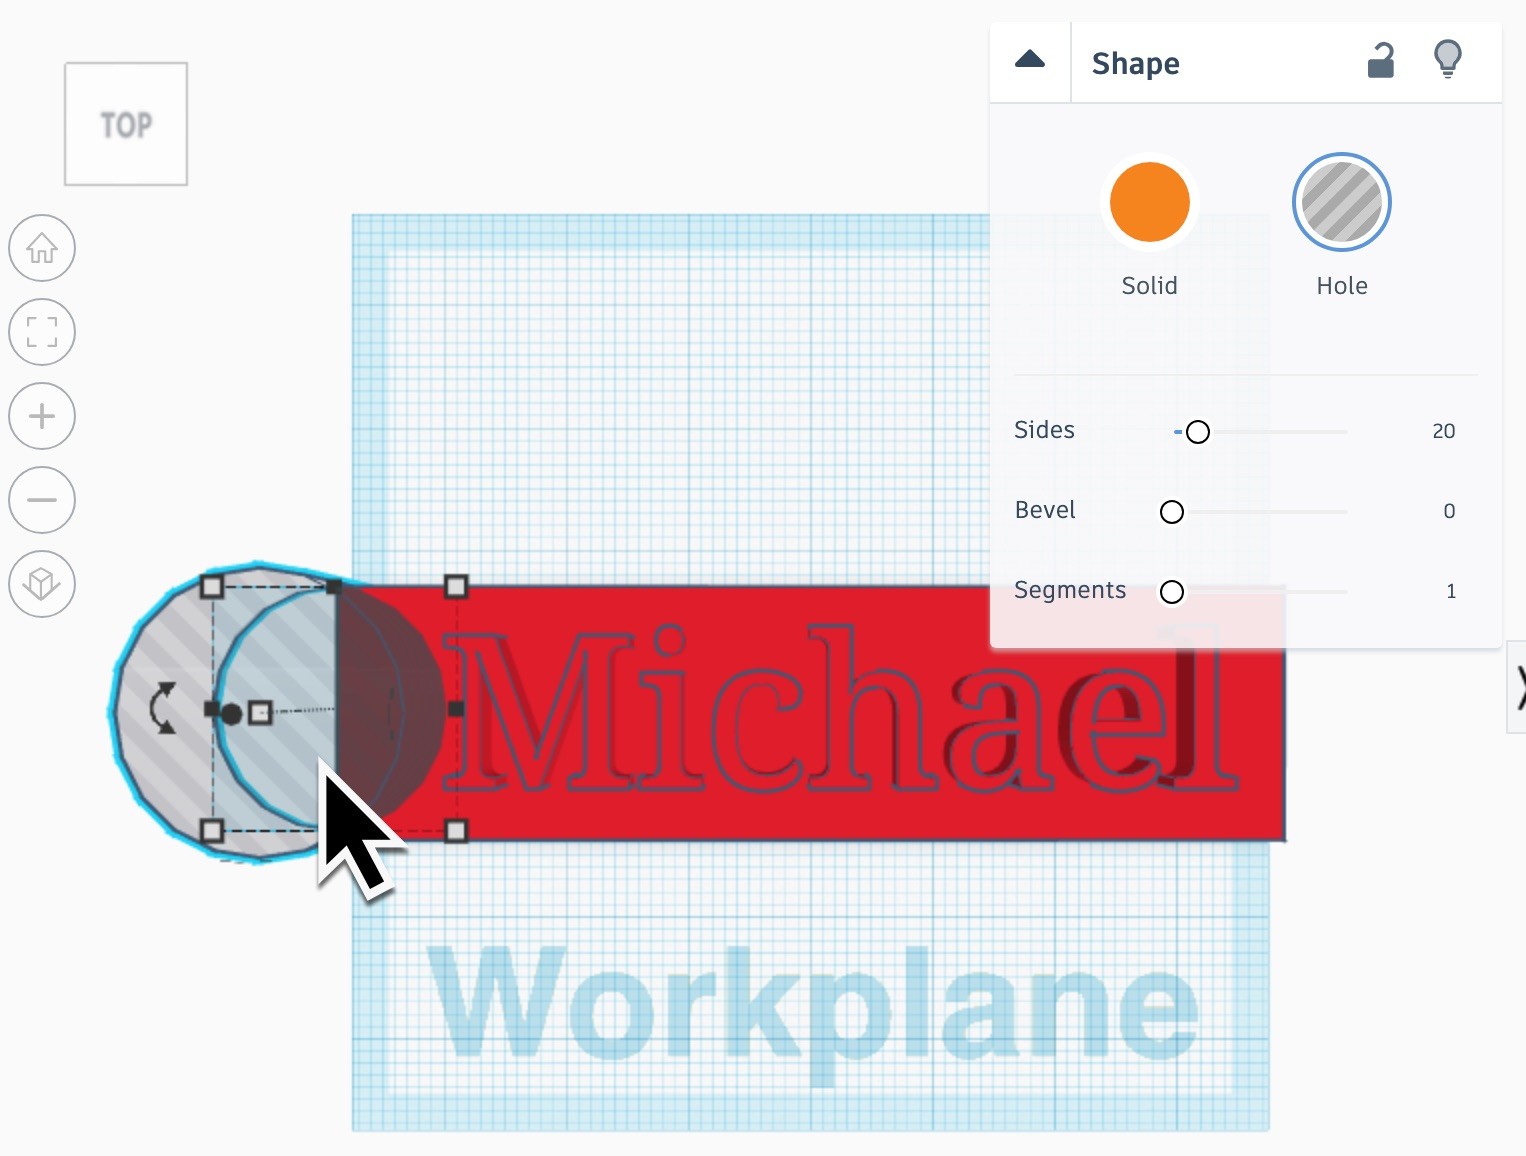
Update dimensions
Click on any of the white boxes on the corners of the cylinder to bring up the length and width dimensions. Change these both to 6mm, which should be enough to fit a keyring through it.
